In the previous post I covered ‘Installing: App Volumes Manager‘. Now it’s time to install App Volumes Agent.
The App Volumes Agent has to key roles in life:
- It resides on a provisioning virtual machine and is responsible for the capture of an application.
- Agent that runs on a users virtual machine as a service. It is responsible for handling the filter driver which looks after application calls and redirects to the AppStack and writeable volumes VMDK’s
Pre-Requisites – Provisioning Virtual Machine
These are the pre-requisites that I have identified so far for the capture virtual machine:
- Ensure that the Provisioning VM operating system and ‘bitness’ is the same as the target virtual machines
- Ensure that the Provisioning VM Server Pack and patch level is the same as the target virtual machines
- Optimise the Provisioning VM operating system as per your target virtual machines
Installation
Ensure that you have downloaded the installer App Volumes from here
Don’t forget that App Volumes Manager and App Volumes Agent use the same installer, so we just need to launch the the setup file again.
Launch the App Volumes Setup > Click Next

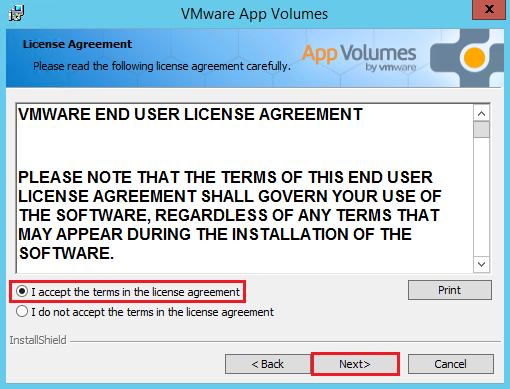
I’m sure you will read the EULA before accepting it then click next
Select Install App Volumes Agent

Click Next

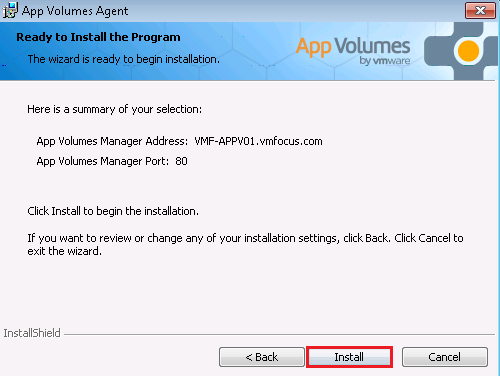
Enter your App Volumes Manager details and the communication port

Click Install
All done, Click Finish

Quick reboot of the your provisioning virtual machine and you are ready to go.
In the next blog post I will be configuring an AppStack ready for deployment.
