
Knowledge
- Publish linked clone replica to Transfer Server repository
- Identify Local Mode policies
- Configure Local Mode policies
- Ensure client device meets Local Mode requirements (e.g., proper version of View Client, hardware requirements, disk space, end device resource requirements, etc.)
- Verify transfer server configuration
Local Mode is one of the features of View that I’m most excited about exploring. In the past I have used XenApp Offline Applications and that was a world of hurt! I mean how cool is it to be able to take your VDI offline and use it whilst flying or on a train. Naturally, we do have a few prerequisites, which we will cover off during this port.

Publish Linked Clone Replica To Transfer Server Repository
The good news is we have already covered this over on Objective 2.5 – Configure View Transfer Servers so we can move straight onto the next item.
Identify Local Mode Policies
By default Local Mode is disabled, it has to be enabled in Global Policies. These can be found in the View Administrator under Policies.

A quick breakdown of the Local Mode Policies are:
Local Mode: Needs to be enabled to allow Local Mode Desktops
User Initiated Rollback: When a user wants to check there desktop back in, with this feature enabled they can either check the desktop in and all the changes are synced back to View or they can choose to roll there desktop back to the version on View discarding any changes they have made when working offline.
Max Time Without Server Contact: This is the amount of time the user can be offline for.
Target Replication: We can’t always rely on users to ‘check in’ desktops so this feature will try and replciate any changes at a given interval.
User Deferred Replication: Can the user choose not to replicate?
Disk Replicated: By default only the persistent disk is replicated as this contains all of the users information such as desktop icons and my documents. You can choose to replicate the OS disk as well.
User Initiated Check In: Is the user allowed to check there desktop in?
User Initiated Replication: Is the user allowed to start replicating changes back to View?

Ensure Client Device Meets Local Mode Requirements
We have a few requirements to meet with Local Mode, so let’s rattle through them.
Operating System Requirements
- Only supported on Windows systems
- Windows 7 32 or 64 Bit Home, Professional, Enterprise or Ultimate
- Windows Vista 32 Bit Home, Professional, Enterprise or Ultimate SP1 & Sp2
- Windows XP Home and Professional SP3
As you can see the physical desktop doesn’t have to be part of the Active Directory domain as ‘home’ version works.
Physical Hardware Requirements
- CPU needs to be 1.3GHz or faster
- Disk space required is as much as what the VM can grow to e.g. View Desktop uses 10GB but has 20GB allocated, you need to have 20GB free.
- 2GB Memory Windows XP and Vista
- 3GB Memory Windows 7
- BIOS must support Hardware Virtualisation
Verify Transfer Server Configuration
The only real way to do this is to give the bad boy a whirl!
First thing to do is check your transfer Server is ready to rock and roll under View Configuration > Servers > Transfer Servers make sure that:
- Status Ready
- Snapshot is Published

At the moment my View Client doesn’t have Local Mode installed, so I’m going to run the View Client Installer with Local Mode, at the time of this blog post, the most upto date version is VMware-viewclientwithlocalmode-x86_64-5.2.1-937772
Hit Next and we want to Modify the installation

Select View Client with Local Mode and hit Next

Click on Install

Click Finish

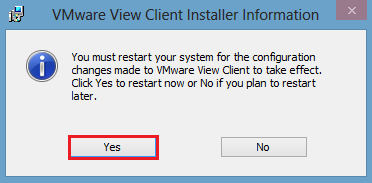
Unfortunately, Local Mode requires a reboot, so I will see you on the other side!
Before we move forward, a couple of things about Local Mode.
- The desktop can only be checked out if it’s powered off.
- The desktop can only be checked in if it’s powered off.
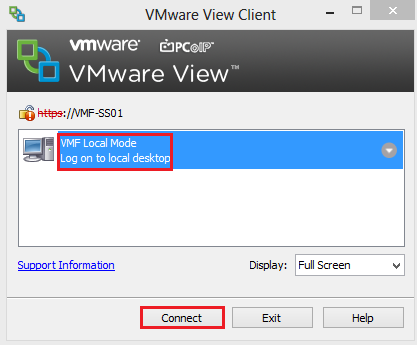
I have logged in with a user who has rights to use Local Mode on a View Pool. The desktop is shut down, we want to click the Down Arrow and Select Check Out

Did you spot the VMware Octopus as my desktop background?
We are going to select OK (however you can change the download location of the desktop from the default if you wish).

You will see the percentage start to increase.

What happens is that View takes a snapshot of your Desktop VM and places a Lock on it so no changes can be made (makes sense as it can’t be used).

Time to grab a cup of tea, as this takes a while.
Excellent the check out has completed, click Connect.
When you login, Windows will need to restart to identify the new hardware it is running on.

That’s it for this objective, I think you will agree with me, Local Mode is proper awesome and takes down many of the barriers that CTO may have had with VDI in the past.
