
Knowledge
- Create ThinApp applications
- Create or identify supported file share
- Assign permissions to the share
- Verify MSI streaming setting in the package.ini files
- Identify necessary ThinApp package components to put on the share
- Assign ThinApp applications to pools
Create ThinApp Applications
As with a few of the other topics, I like to start with what ThinApp is. ThinApp provides a virtualisation bubble between the Operating System and Application, meaning that they are isolated from each other. This allows us to recompose a View Desktop without affecting the applications which run on it.

I mentioned the word ‘bubble’ earlier. When the application is started a ‘bubble’ is created that contains all of the file system and registry. These settings can either replace or merge with the Operating System file system or registry. I like to think of it as the merge or replace using Group Policy for Terminal Servers.
What are ThinApp requirements:
- 32 Bit run on Windows NT (yeah right) or later
- 64 Bit run on Windows XP or later
- 16 Bit applications can only run on 32 Bit versions of Windows
- 32 Bit applications can run on 32 Bit or 64 Bit versions of Windows
What are ThinApp Limitations
- If the Application doesn’t work on the Operating System it won’t work on ThinApp
- Anti Virus software
- VPN Clients
- Printer Drivers
- 64 Bit applications cannot be virtualised
To create a ThinApp Application we need to start of with a blank/clean Operating System install. I’m going to use Windows 7 32 Bit for my base OS called VMF-THIN01 with 1GB RAM and a 1 vCPU. The overall process is:
- Pre-scan in which all file system and registry are collected
- Install the application and test, test and err test
- Post-scan in which all file system and registry are collected
- Comparison is made between ‘pre-scan’ and ‘post-scan’.
- Configure the ThinApp package
- Copy’s the different files to a ‘Project’ directory
- Build ThinApp package
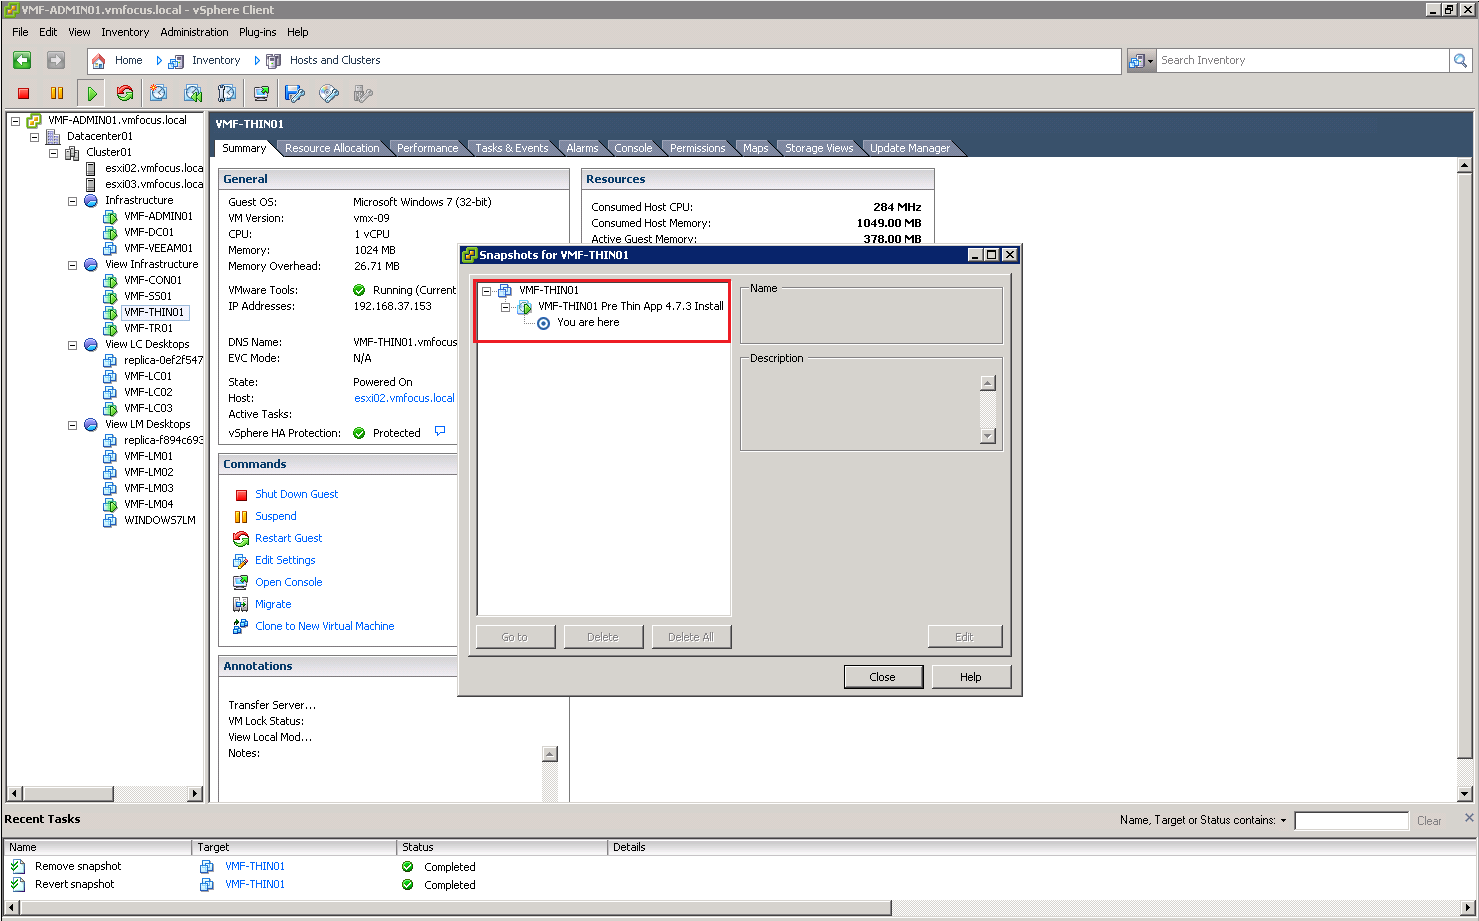
After applying Windows updates, the first thing I’m going to do is take a Snapshot of VMF-THIN01 as this is our base installation which we can revert back to if required.

After taking the Snapshot we need to download ThinApp 4.7.3 to install on VMF-THIN01. The latest version at the time of this blog post is VMware-ThinApp-Enterprise-4.7.3-891762.exe
Launch the .exe and Click Next on Patents List

Accept the EULA and Click Next

Don’t worry at this point, you will think is it installing or not for about five seconds, then you will see the Enter License key Screen. Pop your license key in and then a name that will mean something to you for the ‘License display name’.

Awesome that’s ThinApp installed.

Next, I’m going to take another snapshot, for after the ThinApp installation.

Cool, you will notice a VMware folder on your Start Menu and we want to launch ThinApp Setup Capture (I have created a shortcut on my desktop for easy reference).

We are going to click Next to perform a Prescan of our system. A Prescan creates a baseline of your clean installation, checking the status of hard drive and registry files.

Click Prescan to launch

This process will take some time, so it might be worthwhile getting a brew.
Cool, so now we need to install the application which we want to be packaged.
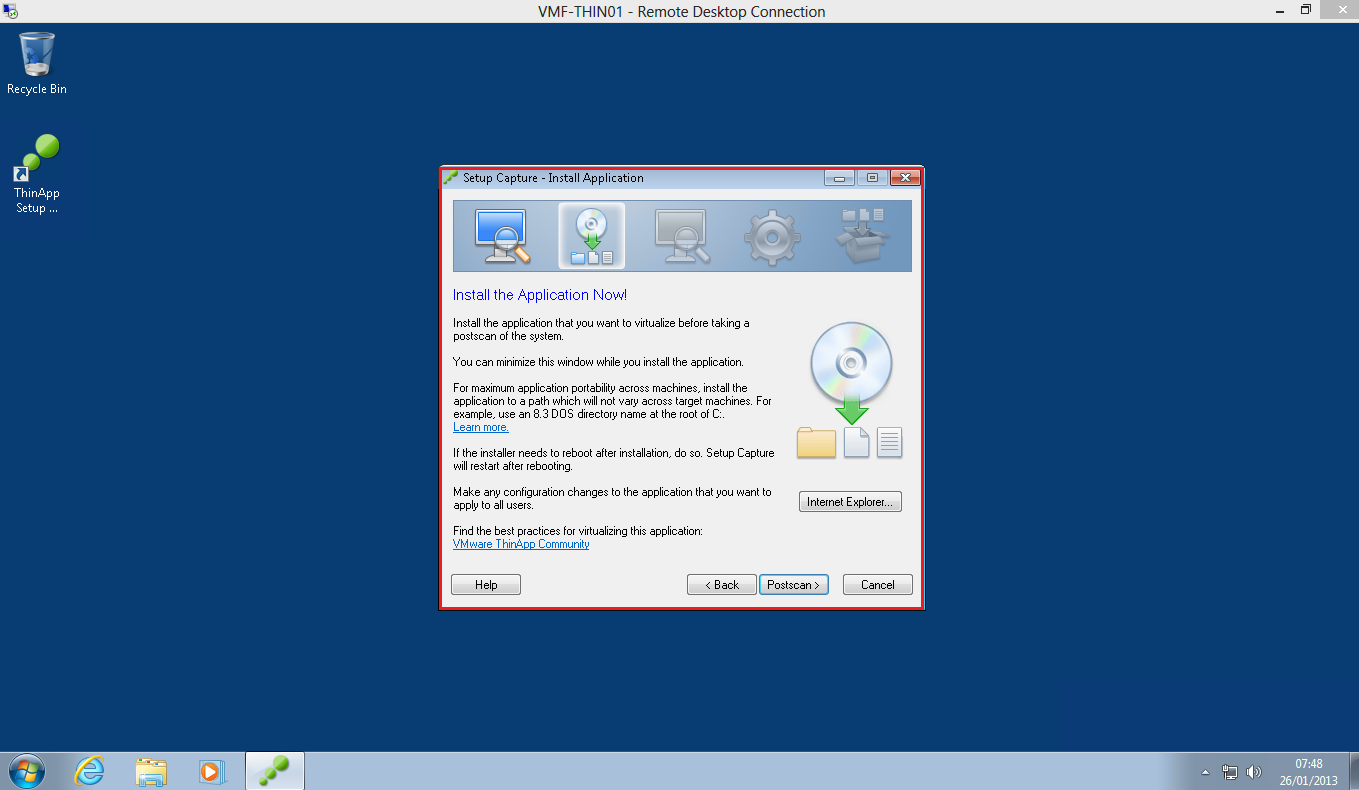
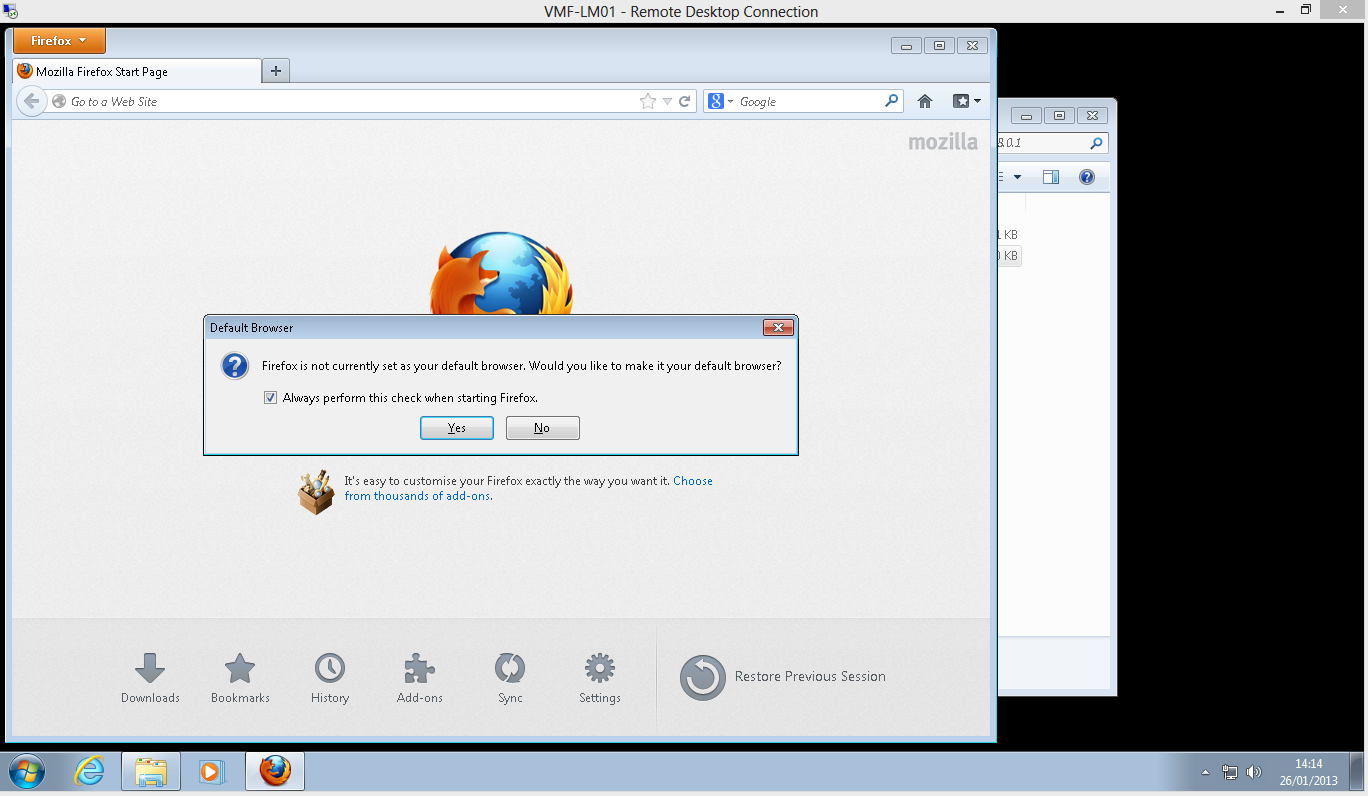
I’m going to install with Firefox which I have downloaded to the C: drive of VMF-THIN01. Nothing special here, I have just installed Firefox as you would on any computer.
Now that Firefox is installed, I’m going to run a Postscan by clicking the Postscan icon.

You will notice that once the Postscan has finished, ThinApp will compare the Prescan and Postscan.

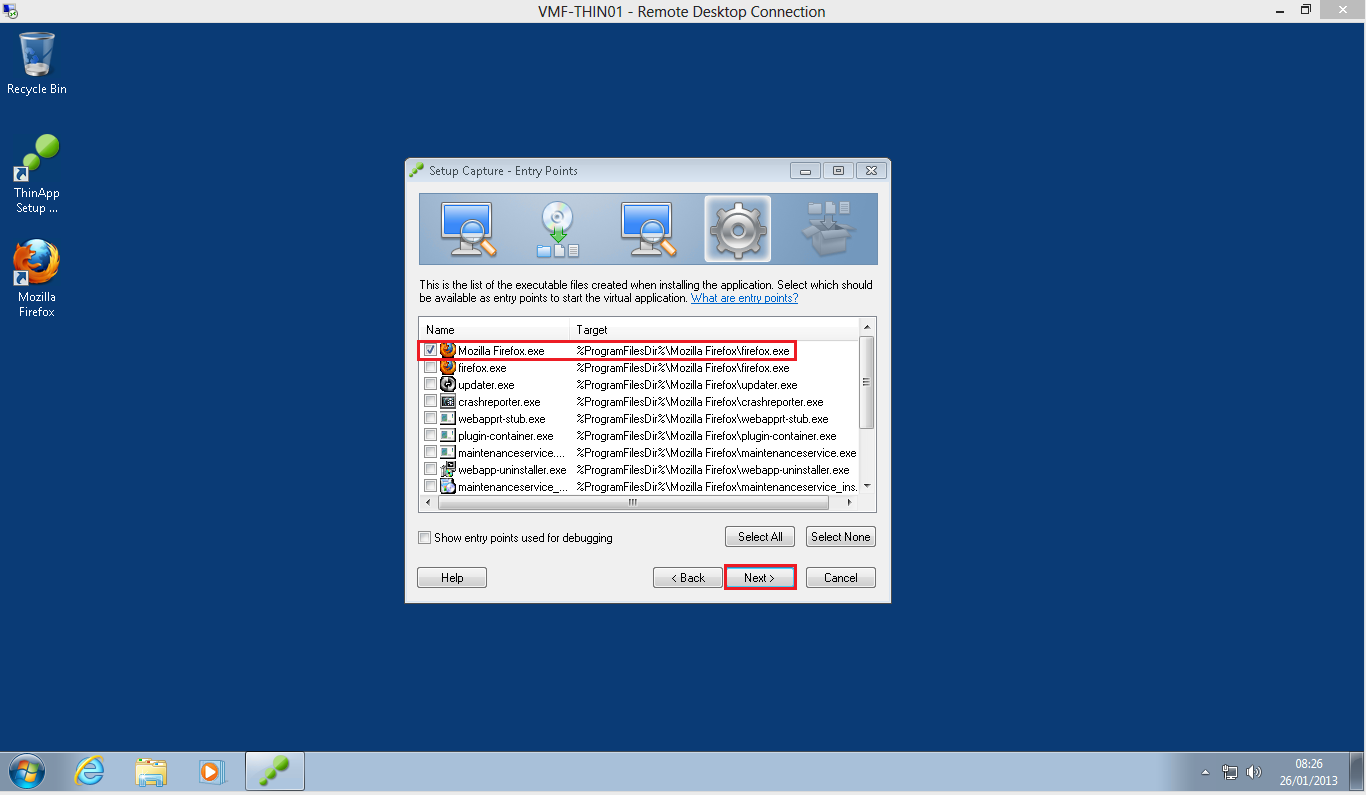
Now that’s finished we need to select the ‘Entry Point’ this is a fancy word that really just means the shortcut to launch the application. In my case ThinApp knows I have installed Firefox and that the ‘Entry Point’ is Mozilla Firefox.exe
We aren’t going to be using Horizon Application Manager or updating an existing ThinApp Package so click Next

Next you can select the Active Directory Security Groups who can run the application. I have chose View Sales users and we can also define a ‘Access Denied Message’ for users who don’t have access.

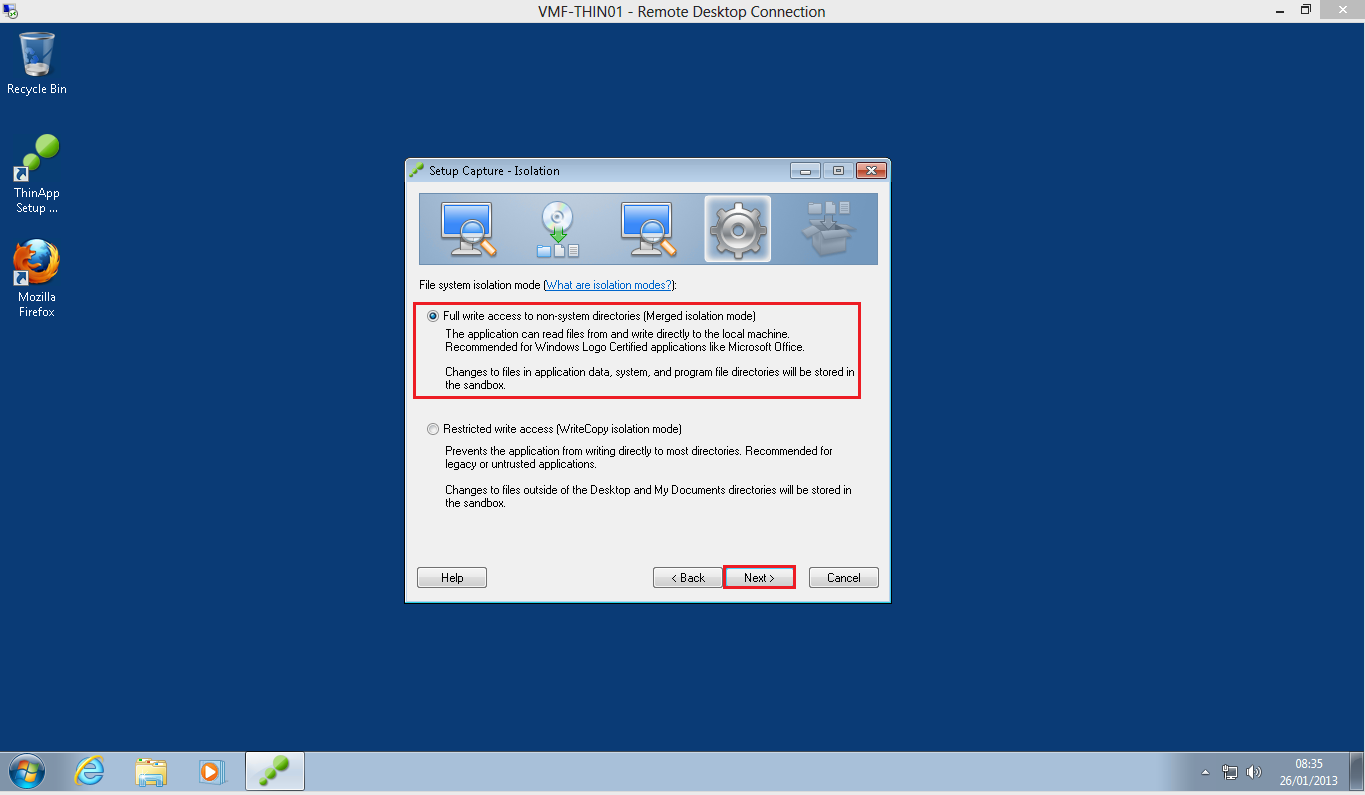
The next choice is about Isolation modes. What the heck are they? Well the Isolation level made determines the amount of interaction the application can have with the OS.
As Firefox is a well known application which has been written properly, i’m going to select ‘Full write access to non-system directories (Merged Isolation Mode)’
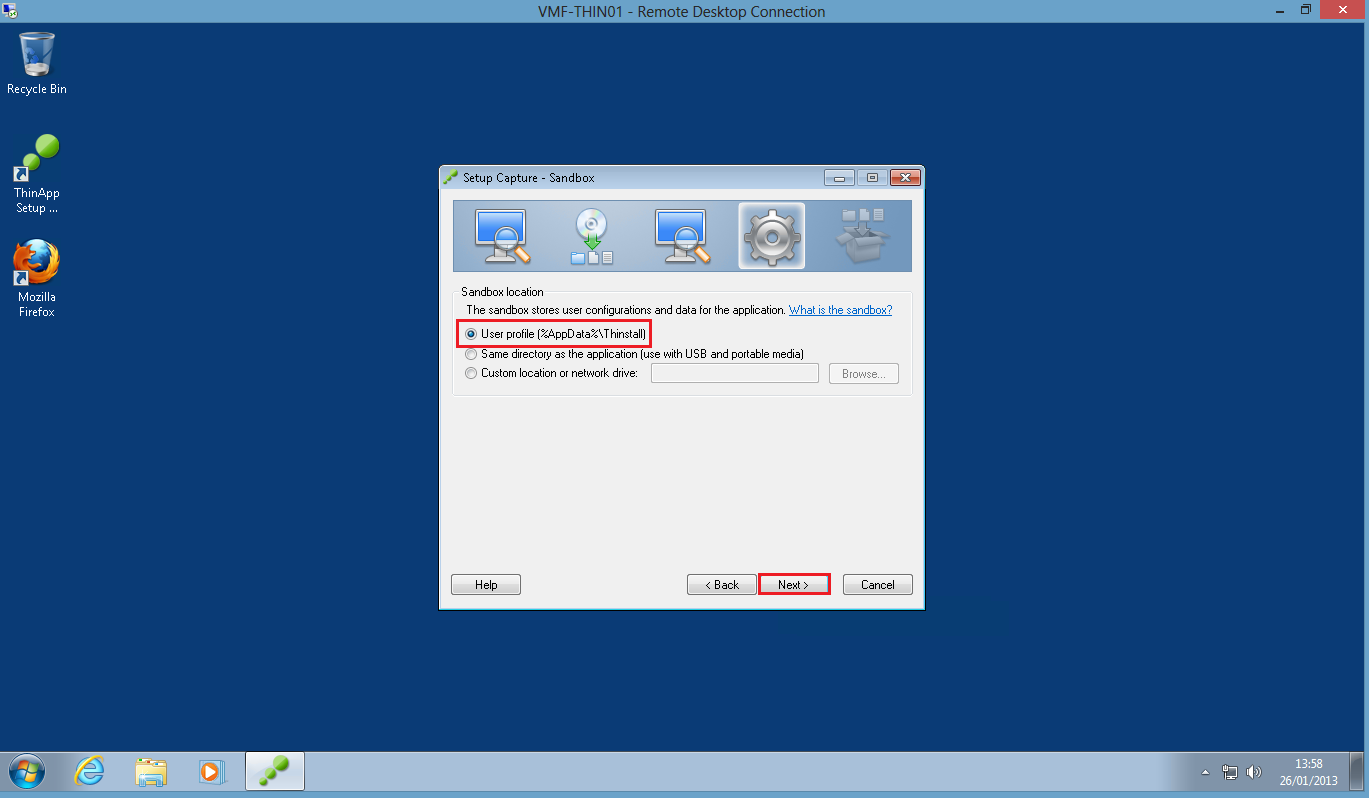
Next we have to decide on our Sandbox location. The Sandbox captures any changes made to the application such as customization’s We are going to use the defaults.
Err, I don’t want to send VMware any information, so hit Next

Now this part is really cool, ThinApp allows us to use ThinDirect which plugs in to Internet Explorer so that when a specific website is launched it will open in Firefox. I’m going to enter http://www.vmfocus.com

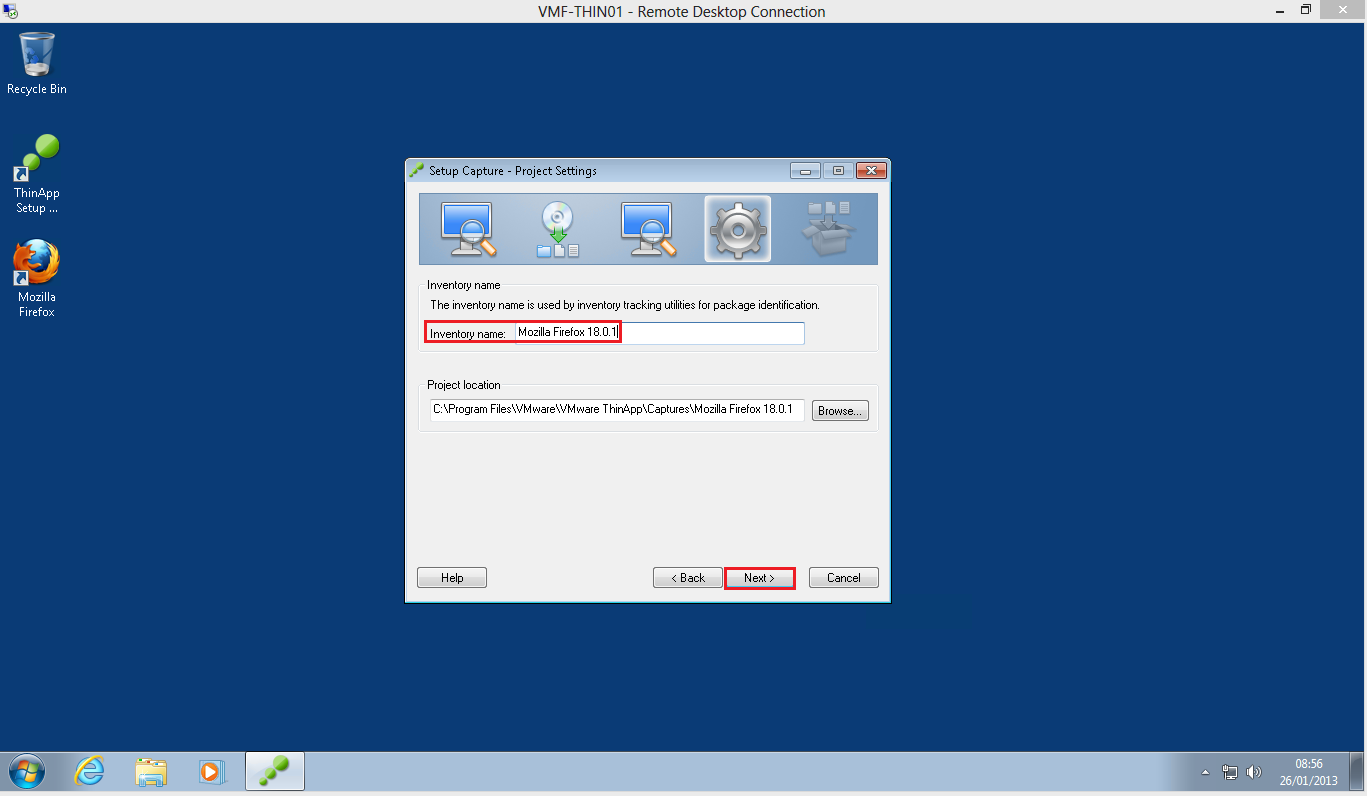
Now we need to enter the Inventory Name, shows up in Add/Remove Programs and is shown in the Sandbox Folder. The Project Location is where all the files that make up our Firefox ThinApp package are located.
Next we get to choose our Primary Data Container, this holds all the information to run our ThinApp Package. For me, I’m going to use Entry Point, generally speaking ThinApp makes the right decision, so I will leave mine as Mozilla Firefox.exe
I’m also going to select MSI Package Generation so that ThinApp will create an ‘msi’ version of Firefox for me. This means I could use Group Policy to deploy the ThinApp package down to regular desktops, now that is pretty wicked.
In this occasion, we aren’t going to compress the virtual package.

Once we hit Save, ThinApp then performs all the tasks we have requested and Packages Firefox.

Verify MSI Streaming Setting in The package.ini Files
Awesome, we are not at the point where we can Verify MSI Package File, to do this we can click on Edit Package.ini
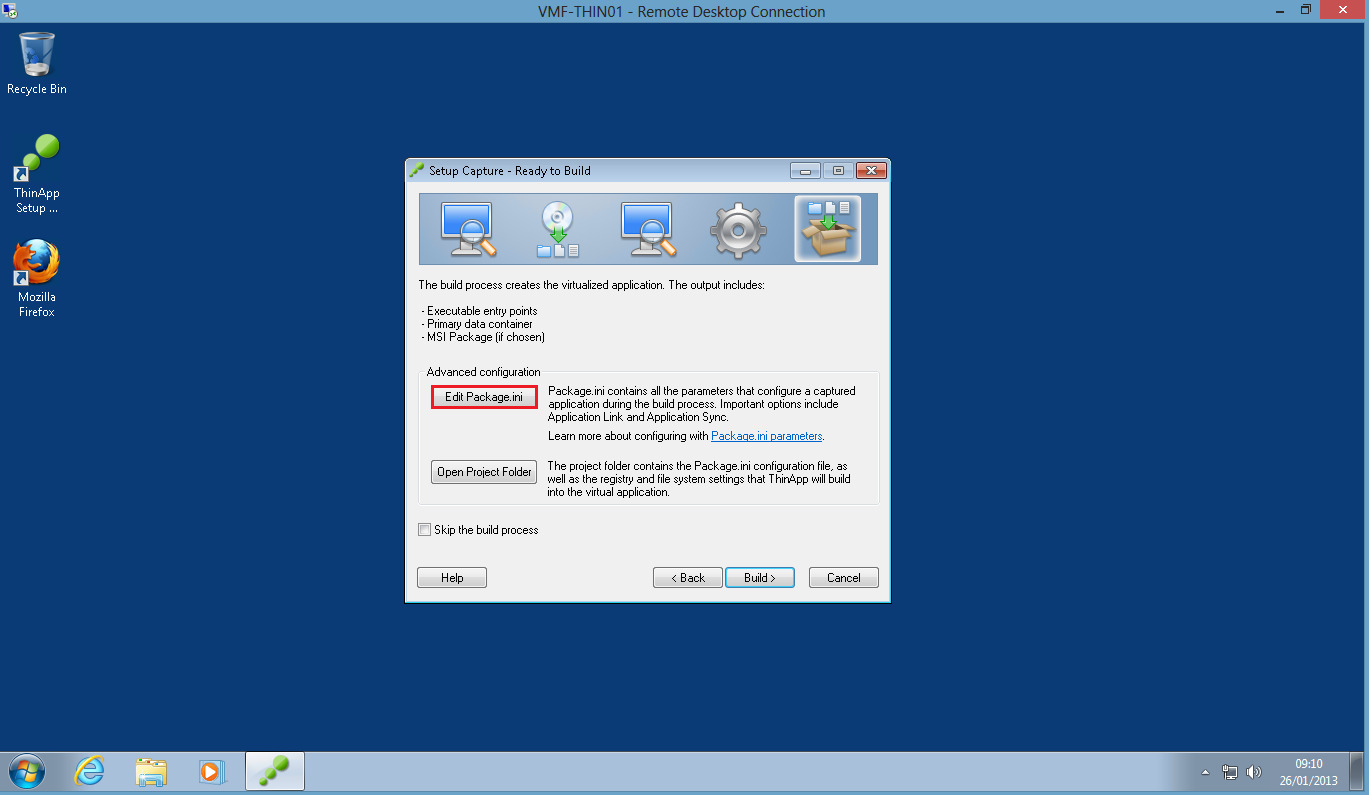
You will see the MSI Parameters and many other settings that can be customised/altered if required.

I’m happy with all of these settings, so I’m going to Build the Firefox Pacakge.

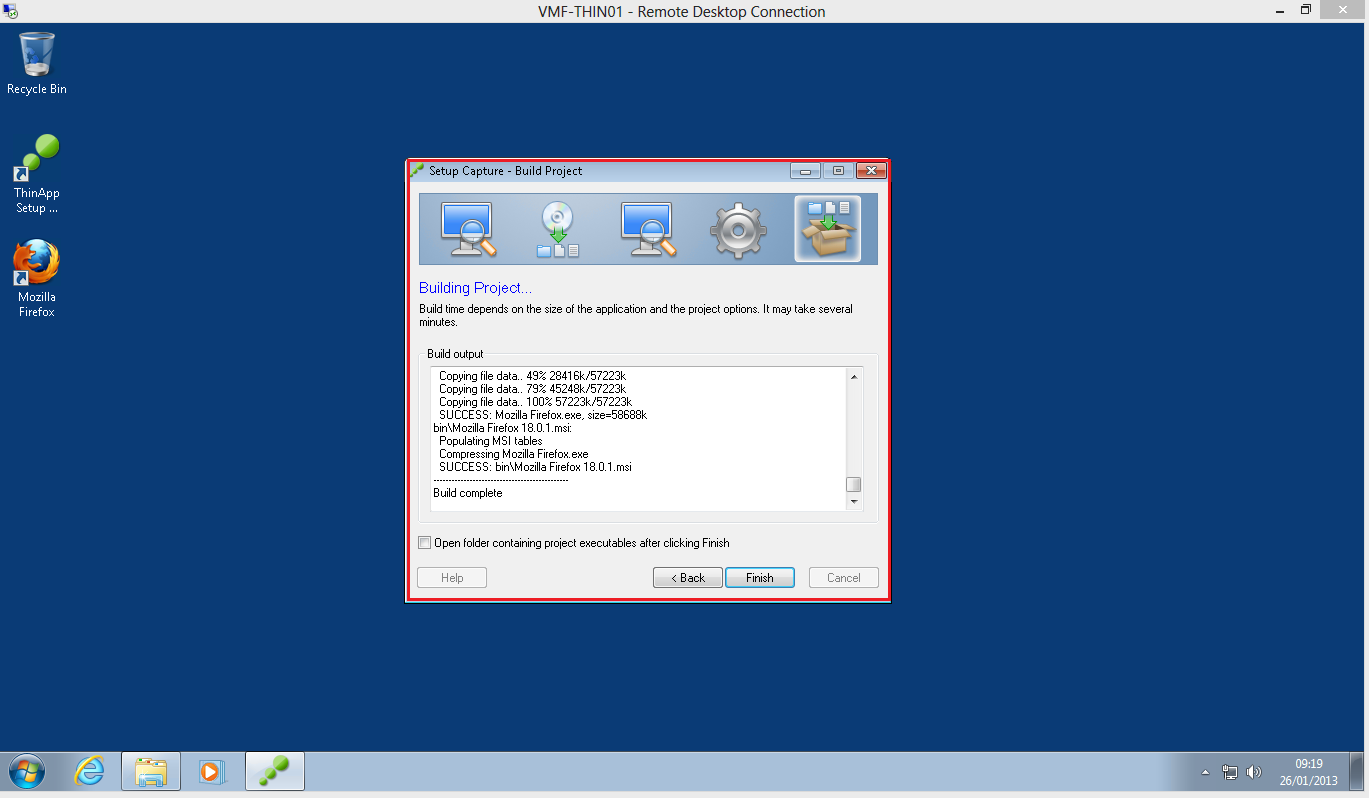
The Build takes a little while, so it might be an idea to grab another cup of tea!
Excellent news, all finished and Firefox is packaged.
If we access the Project Executable by going to C:Program FilesVMwareVMware ThinAppCapturesMozilla Firefox 18.0.1bin you will see our two files, Firefox Application and the MSI

Create Or Identify Supported File Share & Assign Permissions To The Share
On my Transfer Server VMF-TR01 I have created a Windows File Share called ThinAppPackage with the following permissions:
Domain Computers – Read
Domain Users – Read & Execute

Identify Necessary ThinApp Package Components To Put On The Share
Now we have the packaged Firefox we need to copy all the project files onto VMF-THIN01
Source: C:Program FilesVMwareVMware ThinAppCapturesMozilla Firefox 18.0.1
Destination: \VMF-TR01ThinAppProjectMozilla Firefox 18.0.1

We are also going to copy our package files (Firefox Application and the MSI) onto VMF-TR01
Source: C:Program FilesVMwareVMware ThinAppCapturesMozilla Firefox 18.0.1bin
Destination: \VMF-TR01ThinAppPackageMozilla Firefox 18.0.1

Before we move on, it’s a good idea to test our Firefox installation. To do this, I have reverted VMF-THIN01 back to a state before we installed ThinApp so that we have a clean Windows 7 desktop again.
I’m going to login to VMF-LM01 as Sales01 as the View Sales Users has access to Mozilla Firefox. This user has no special rights and is a normal Domain User.
I have created a shortcut on the desktop to \VMF-TR01ThinAppPackageMozilla Firefox 18.0.1 so that I can launch the application. Let’s see if it works.
Voila we have success!
Assign ThinApp Applications To Pools
This seems like a really long blog post, however we are on the final hurdle, which is assigning ThinApp Applications to pools. Seems like we haven’t been into View Administrator in a long time.
Let’s jump into View Configuration > ThinApp Configuration > Add Repository

This is where we tell ThinApp to find ‘msi’ packages. Which for me is under \VMF-TR01ThinAppPackage

Next we are going to jump up to Inventory > ThinApps > Scan New ThinApps

Select your ThinApp Repository and I recommend using the Top Level Folder so that you scan all sub folders

Choose your MSI file to scan, in my case I only have Mozilla Firefox 18.0.1.msi

If all goes well then your MSI should be ‘added’

Let’s get this ThinApp assigned to a pool shall we. Select your ThinApp and choose Add Assignment > Assign Pool
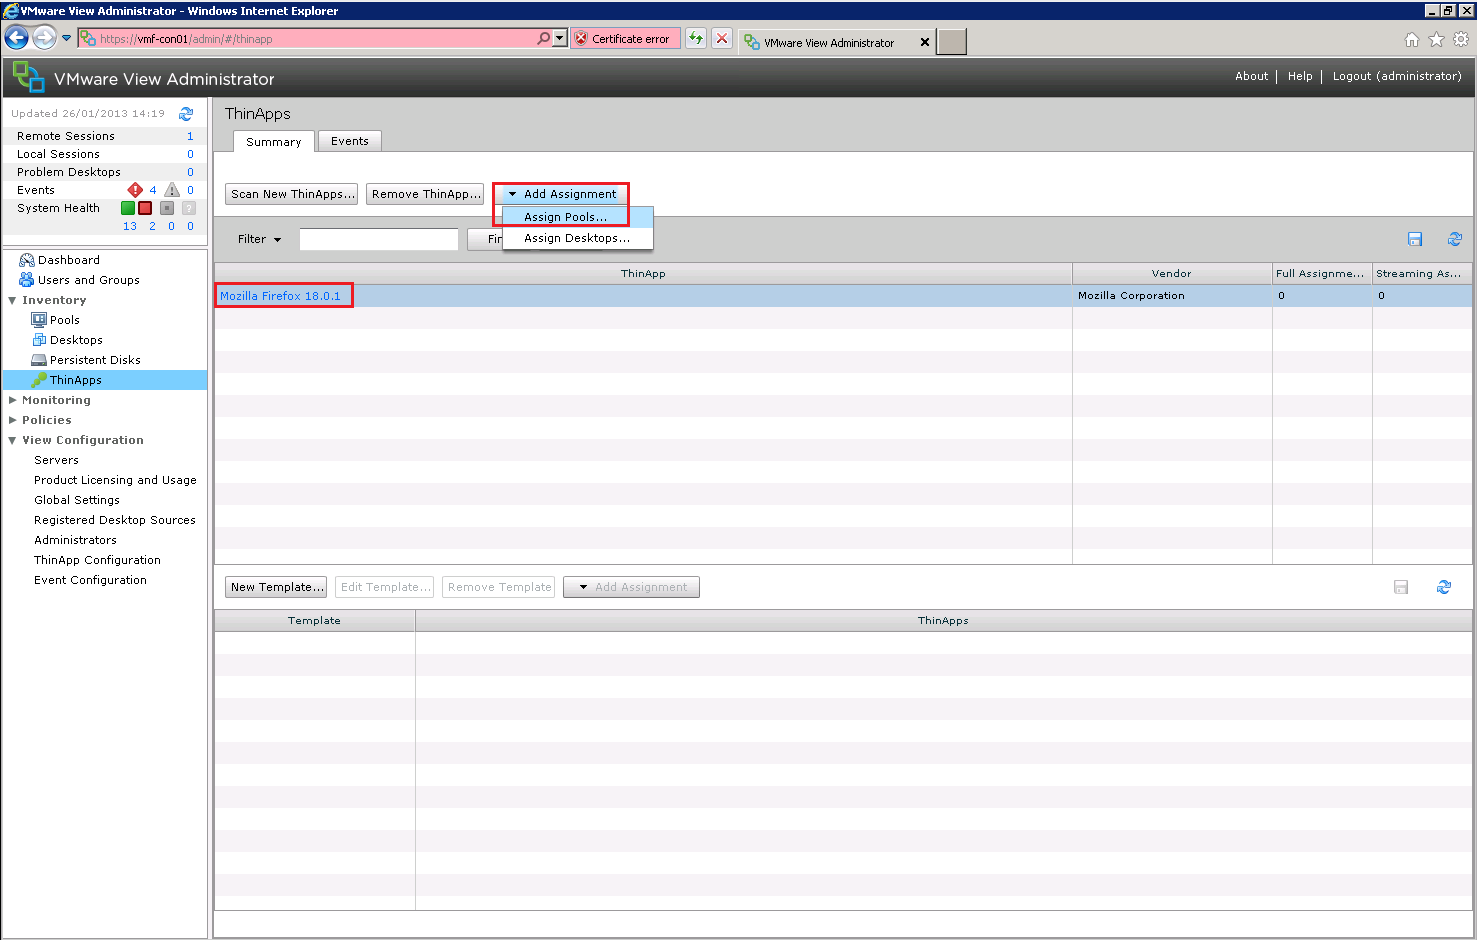
Choose which Pool you want to assign the ThinApp too, I’m rolling with VMF_Local_Mode and hit OK

Excellent our Mozilla Firefox MSI is now ready for use.

Let’s login to a View Desktop as Sales01 and see what we find.
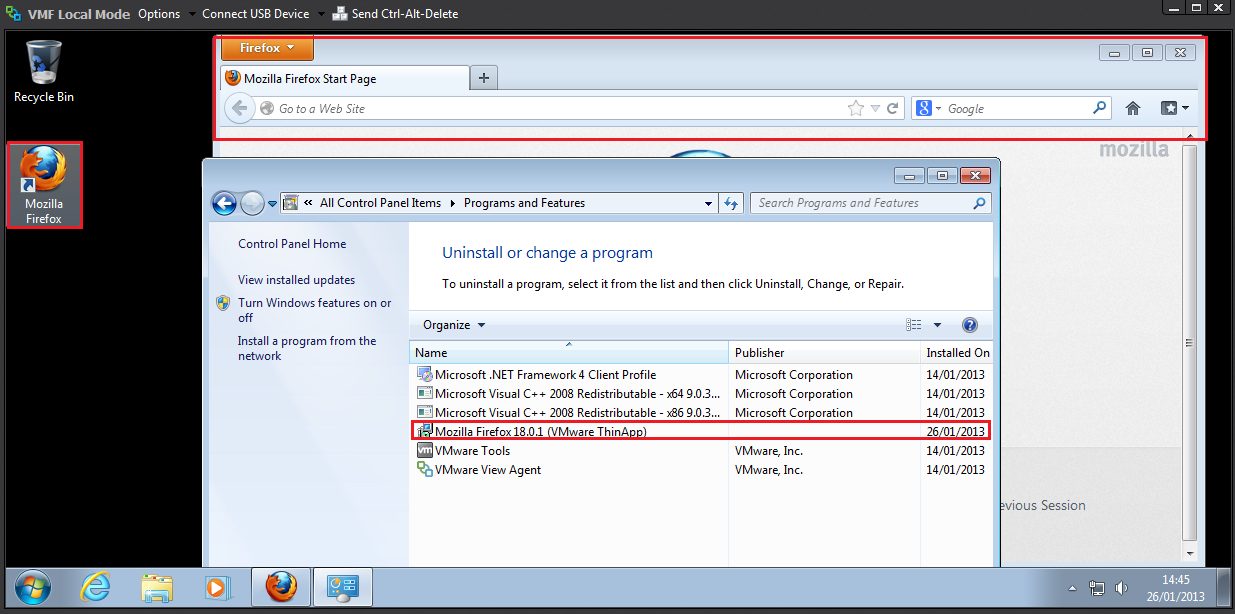
Awesome, we have a Mozilla Firefox shortcut, the browser works and it’s in Programs/Features.
ThinApp Resources
ThinApp is such a broad part of View, that we can’t really cover all aspects in a blog post. However, I do recommend you use the following resources for extra study aides:
