
Knowledge
- Configure virtual machine hardware
- Perform installation of VMware Tools
- Update drivers
- Perform OS optimizations
- Perform installation of View Agent
- Create snapshots
- Create customization specifications
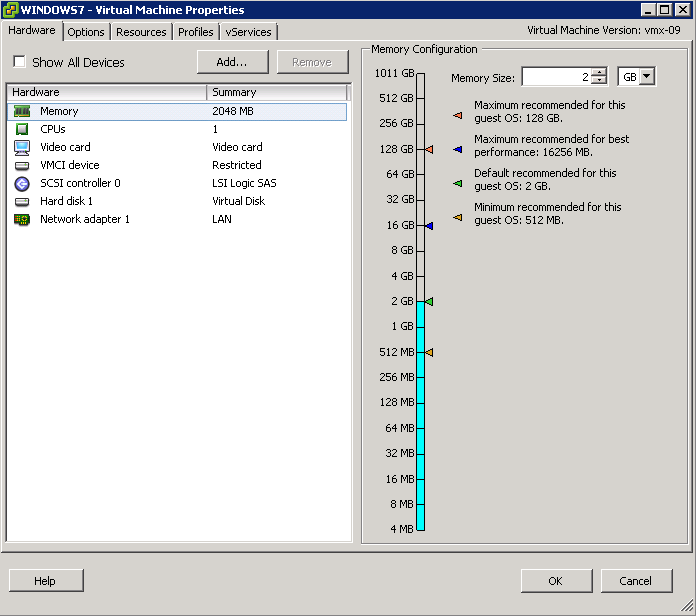
Configure Virtual Machine Hardware
So let’s look at the hardware on our base Windows 7 VM
Hard Disk – Thin Provisioned
Video Card – Auto Detect Settings
Memory – 2GB
vCPU – 1
SCSI Controller – LSI Logic SAS
CD/DVD Drive – Remove
Floppy Drive – Remove
NIC – VMXNET3
Hardware Level – VMX-09
TOP TIP: You won’t be able to use this Windows 7 desktop for ‘Local Mode’ with VMX-09 hardware version
Perform Installation Of VMware Tools
Err, I’m sure we all know how to do that so let’s crack on!
Update Drivers
Over on the SMB Blog, there is an excellent article by Jeremy Hall, which goes into making specific changes to the mouse and display drivers. I highly recommend you follow this not only for your VDI environment but also for your vSphere environment.
The article is called Improving Windows 2008/Windows 7 OS Mouse & Video Performance on ESXi
Perform OS Optimizations
This is a critical area as we want our Windows 7 baseline VM to be as lean as possible, disabling any unnecessary services and features.
Not wanting to reinvent the wheel, VMware have created an excellent guide called VMware View Optimization Guide for Windows 7
Perform View Agent Installation
The View Agent is installed in the virtual desktop to provide additional VDI features, I like to think of it as ‘VMware Tools’ little brother. It can be installed on:
- Virtual Desktop
- Physical Desktop
- Terminal Server
Essentially, the View agent talks back to the View Connection Server to allow the creation of automated pools. It’s a busy busy chap and also informs the View Connection Server about the availability of desktops.
Perhaps one of the most important features from an end user perspective is that the View Agent enables single sign-on through the View Connection Server.
Lastly, the View Agent is the piece of the puzzle that enables features such as printing and USB redirection. So to summarize, the View Agent is a very busy chap!
View Agent Installation
The View Agent needs to be downloaded from here. As at the time of this blog post the most recent version is VMware-viewagent-x86_64-5.1.2-928164 For this installation, I have created a customized version of Windows 7 which we covered earlier on.
So let’s get too it. Launch the View Agent installer on your Windows 7 desktop and click Next

Click to Accept the EULA and Click Next again

We want to accept the Custom Setup (unless you are using Smart Card Readers) and Click Next

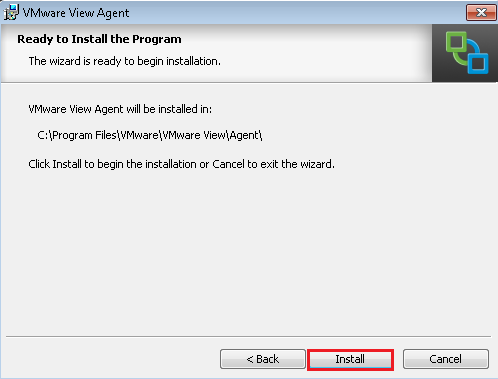
This is quick and easy, Click Install
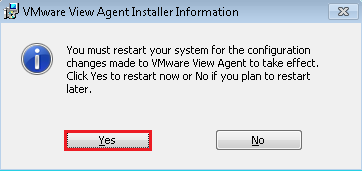
Hit Finish

Finally, give your Windows 7 desktop a reboot and job ‘a good ‘un
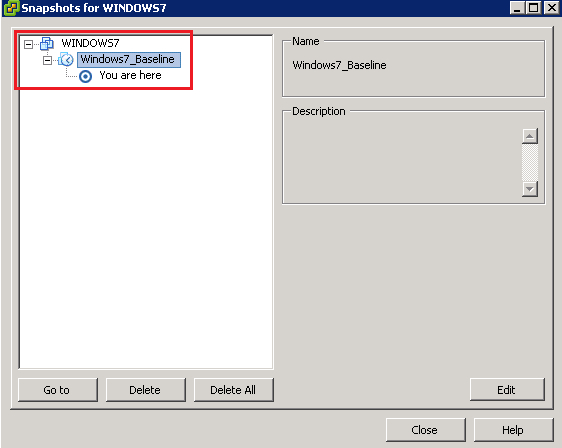
Create Snapshots
Part of the process to create our Linked Clone desktops is to perform a Snapshot of our awesome new Windows 7 VM.
Not going to teach you to suck eggs on this, here is one I created earlier.
Create Customization Specifications
A few things to mention here, firstly I would recommend testing joining your new Windows 7 VM to the domain. The format for this is shown below.
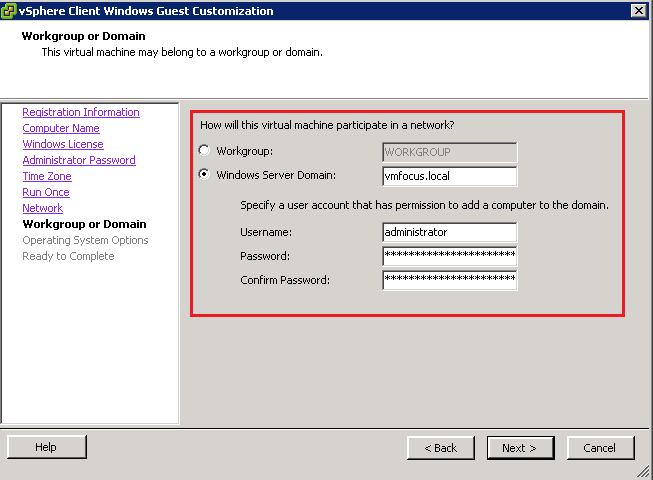
As we will be ‘spinning up’ loads of Linked Clones, we need to make sure these desktops go to the right OU in Active Directory to inherit the correct Group Policy Objects.
I use two main ways of doing this:
- Pre stage all computer accounts in Active Directory using DSADD Computer
- Redirect computers to a specific Organizational Unit rather than the default Computers OU.
I normally go for the second option and pre stage server accounts in Active Directory.
Lastly, you need to test, test, test your Windows 7 VM to make sure it works in your environment.

One thought on “VMware View – Objective 3.5 Build Desktop Sources”