
It’s time to update the VMFocus.com lab to vCenter 5.1 U1, before you do this, there are some known issues with Single Sign On and customers with multiple domain based identity sources and large number of groups who have access to vCenter. See VMware Alert Issue
The good news is my lab doesn’t have any of these issues, so we are good to go.
Before upgrading, I have ensured that I have followed KB 2037630 which gives you the supported upgrade sequence. I have already upgraded View Composer and View Connection Server, so that’s another tick in the box.
Next I have made sure that I have a good working backup (thank you Veeam) and I will be upgrading my Windows 2008 R2 vCenter Server named VMF-ADMIN01 in the following order:
- vCenter Single Sign-On
- Inventory Service
- vCenter Server
- vSphere Web Client
- vSphere Update Manager
- ESXi Hosts
TOP TIP: Make Sure You Have Your Single Sign-On Administrator Password
You can choose to update in a number of ways, if you have the vCenter Server Appliance, then it’s as easy as clicking update. You could choose to build a new vCenter Server and add your hosts to this. But you will then need to reconfigure all your settings and you will loose historical performance metrics.
Anyhow, we are going to upgrade directly on our vCenter Server VMF-ADMIN01 by running the installation media which at the time of writing this blog post is obtained from here for reference the build number is 5.1.0-1065152
vCenter Single Sign On
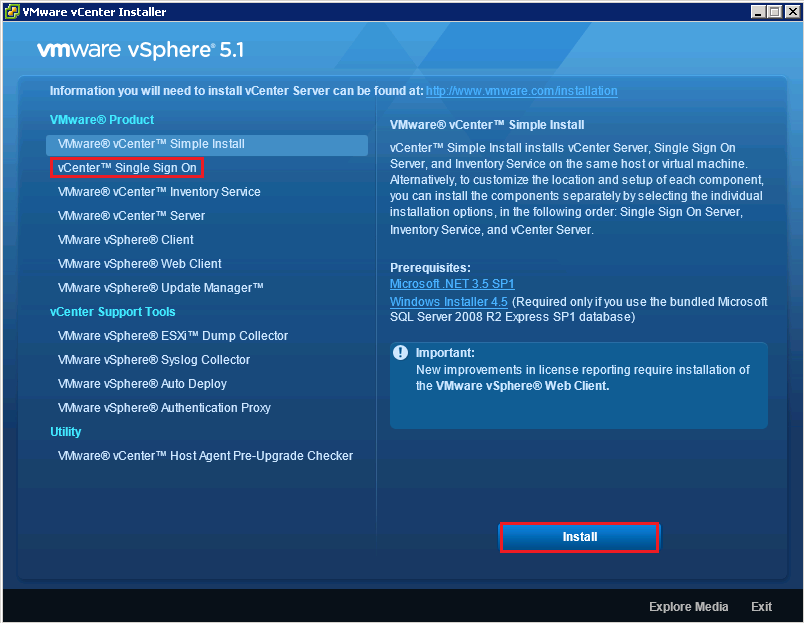
Launch your vCenter Server 5.1 U1 ISO and select vCenter Single Sign-On
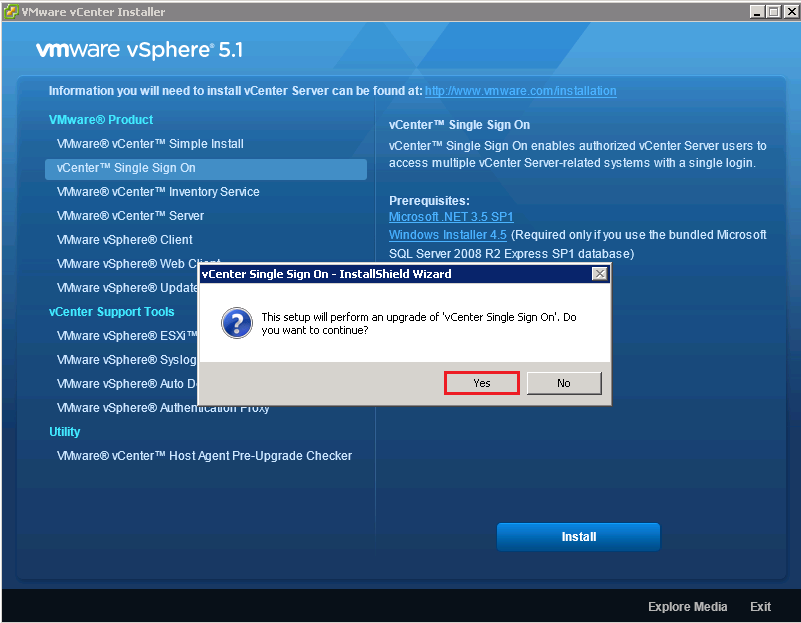
Select Yes to the upgrade to ‘vCenter Single Sign-On’.
Click Next
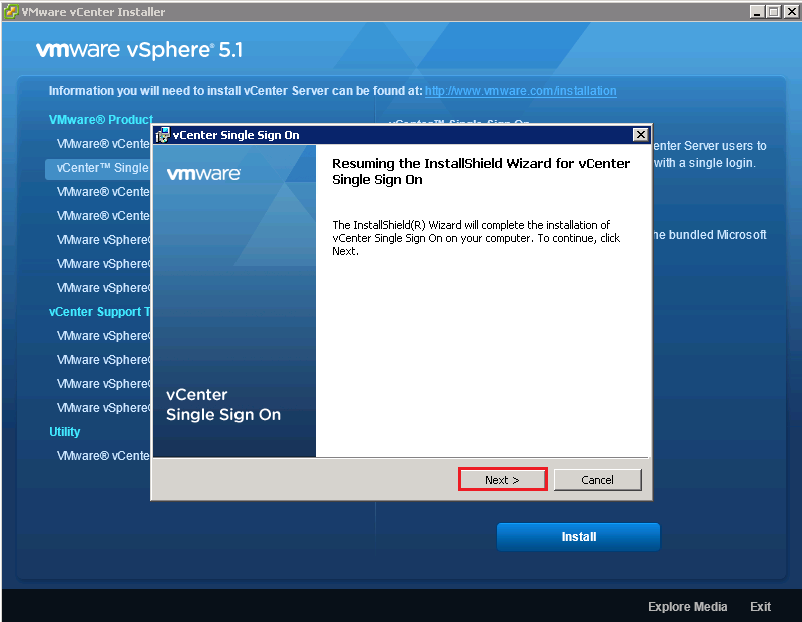
Err, Click Next again
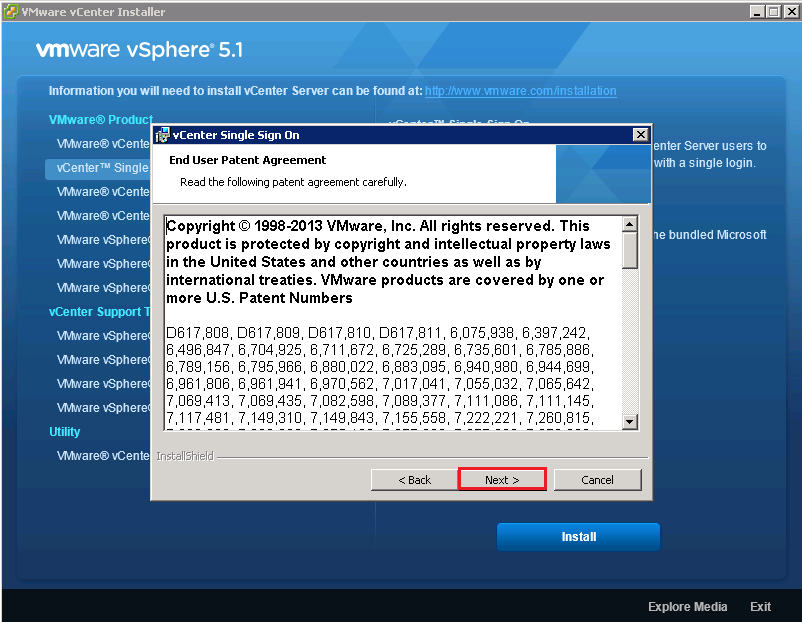
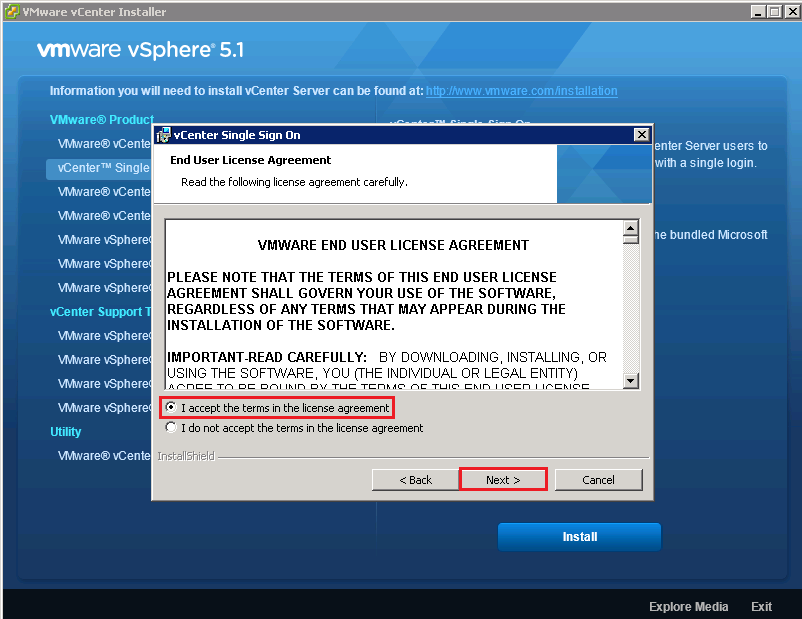
Accept the EULA and Click Next
Enter your Single Sign-On Password from your original vCenter 5.1 install
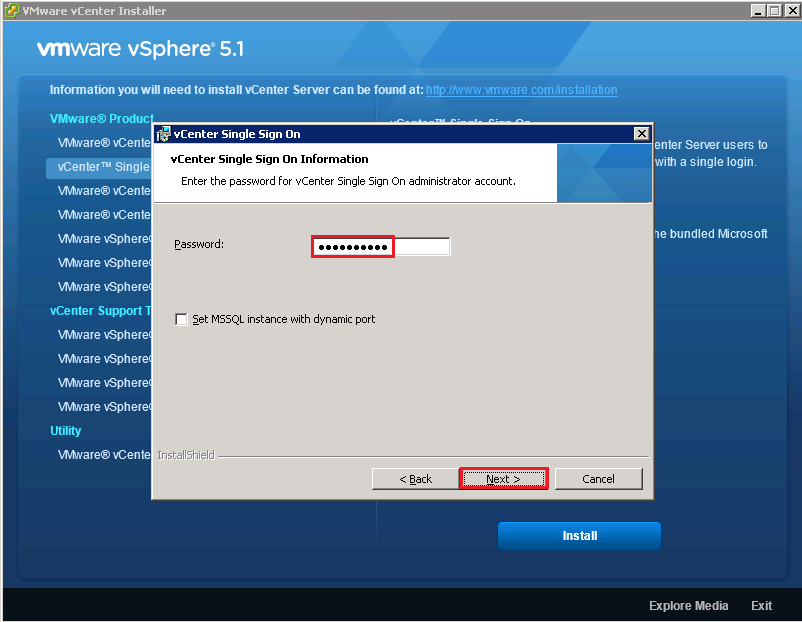
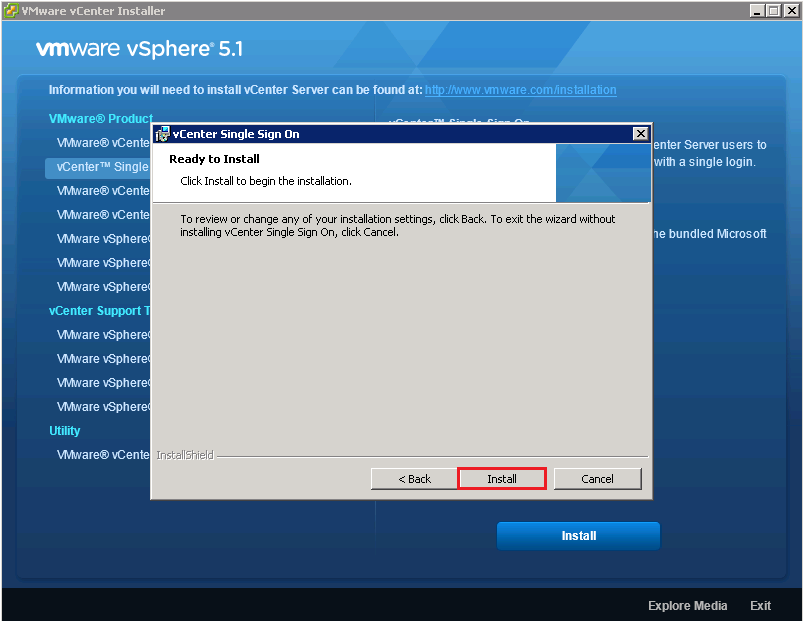
Fingers crossed you remembered it! Once ready Click Install
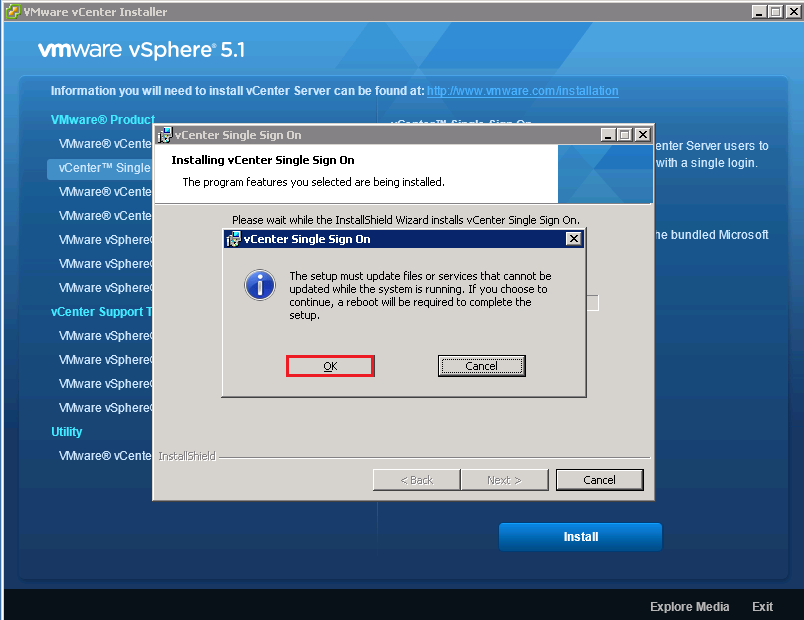
You will get a warning saying the system will need a reboot, Click OK
I’m a believer in drinking tea, now would be a good time to go grab a cup!
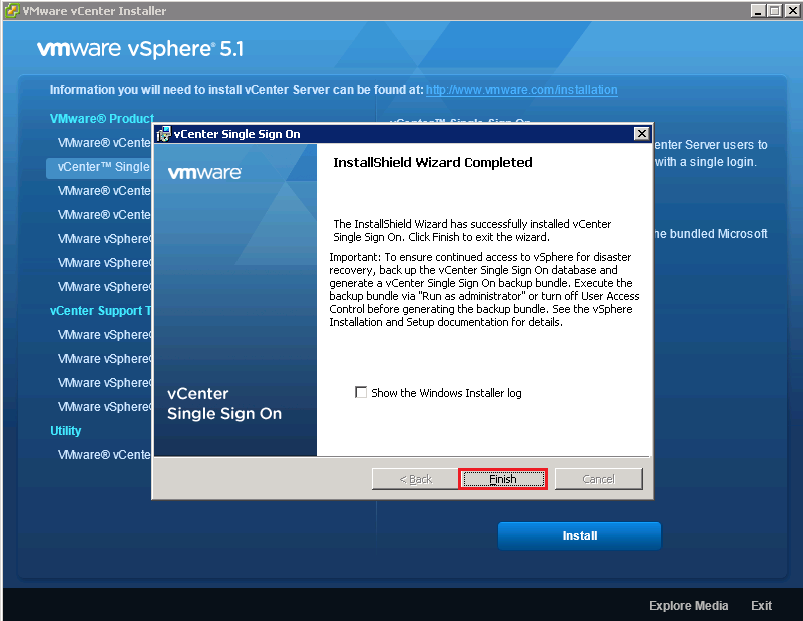
Awesome all done, Click Finish
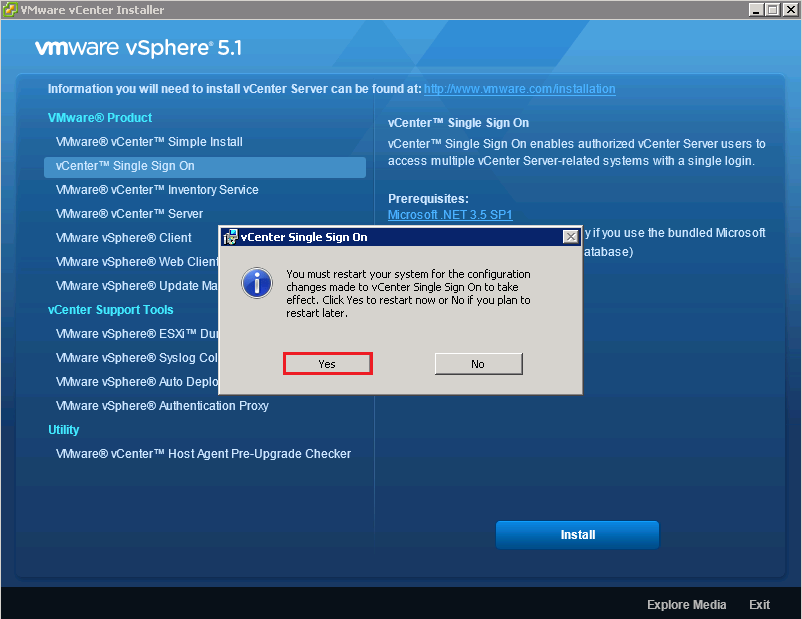
Ah, forgot about the Reboot Click Yes
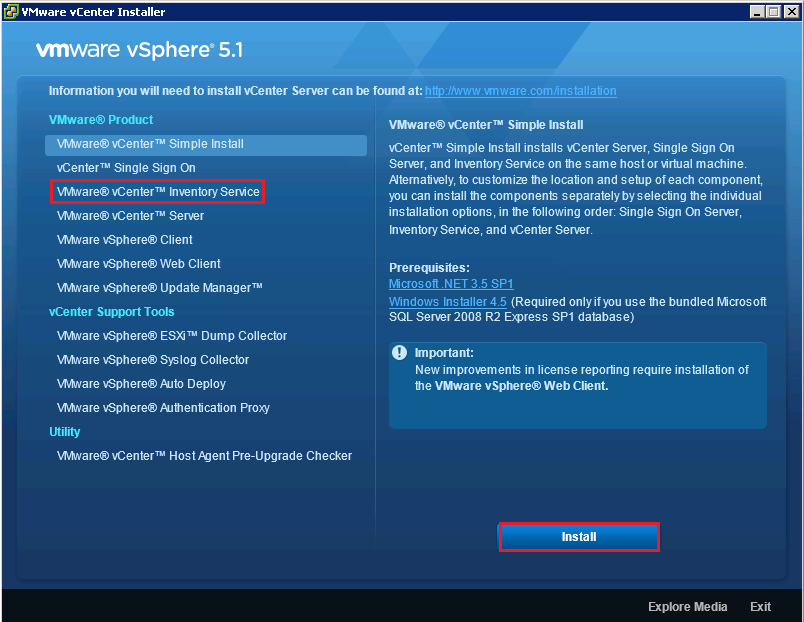
Inventory Service
Back to the installer, this time we are going to select Inventory Server and Install
Click Yes to perform the upgrade of the Inventory Service

Click Next
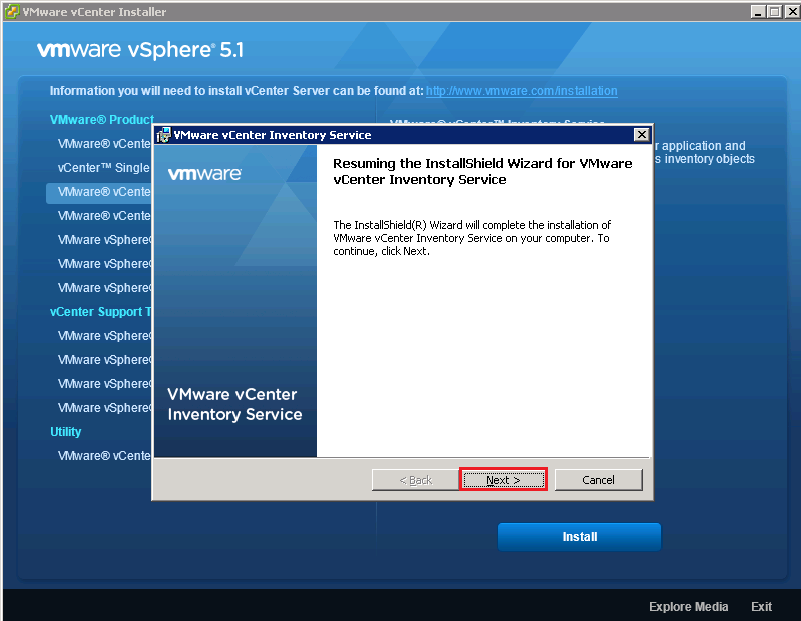
Hit Next again

Accept our friend the EULA
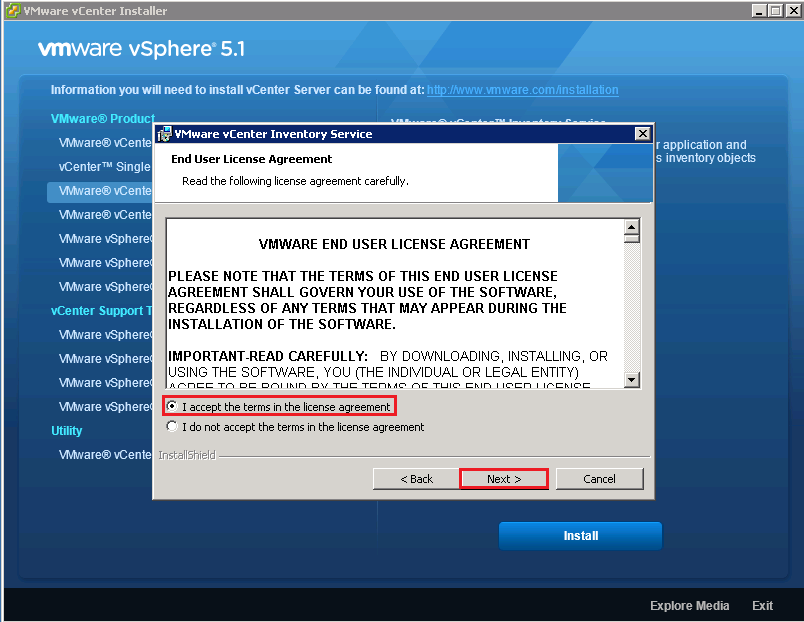
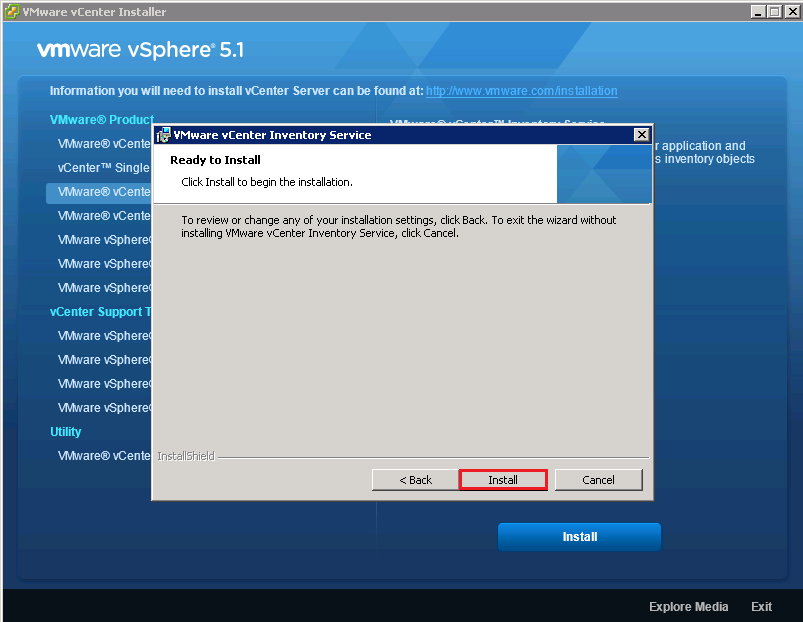
Click Install
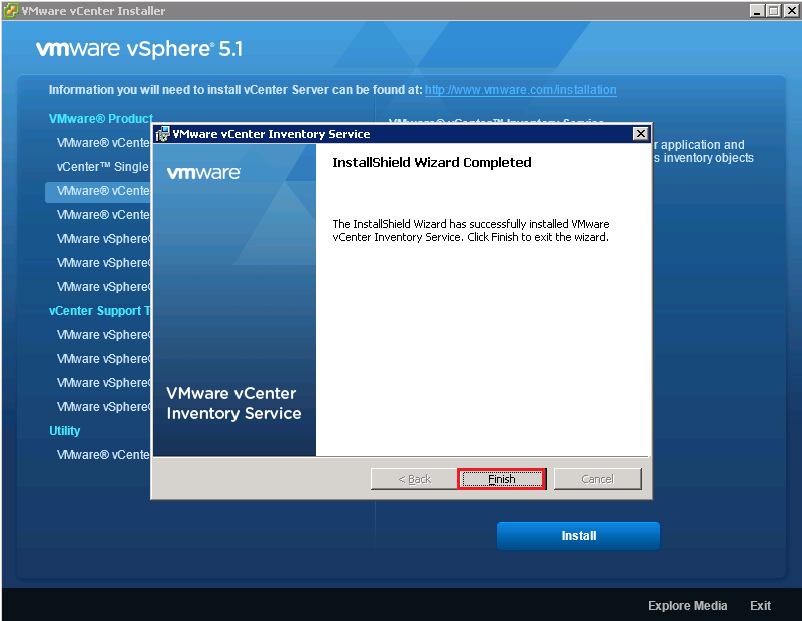
Voila, click Finish
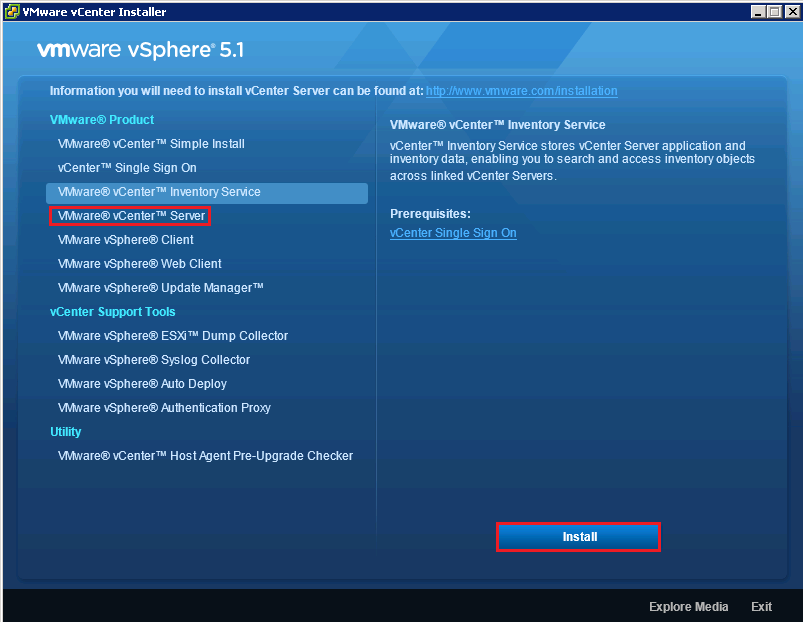
vCenter Server
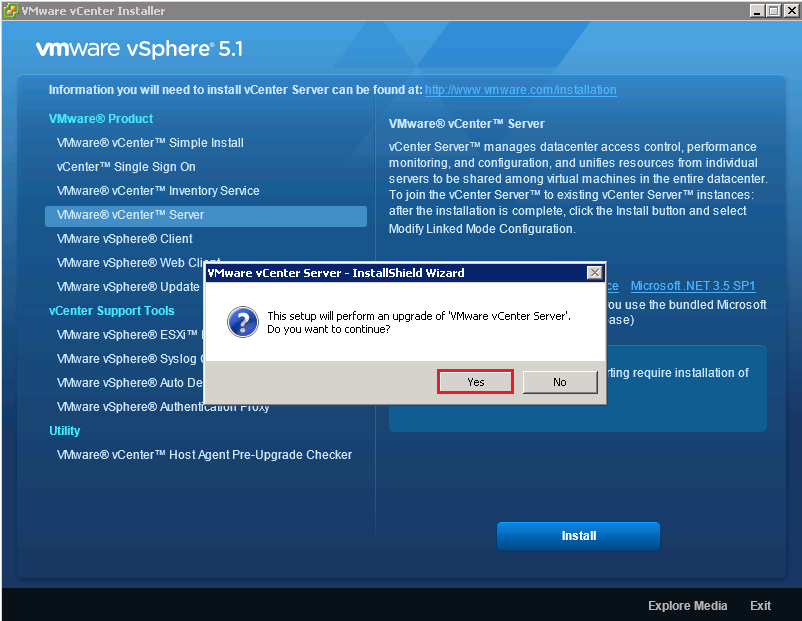
You know the drill, Select vCenter Server and then Install
Select Yes to perform an upgrade of vCenter Server
Hit Next
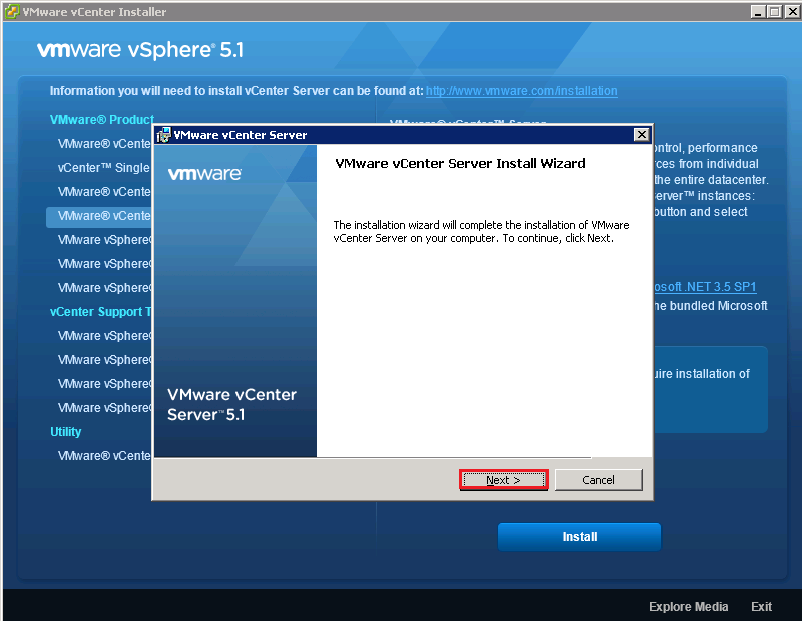
Err, Next again
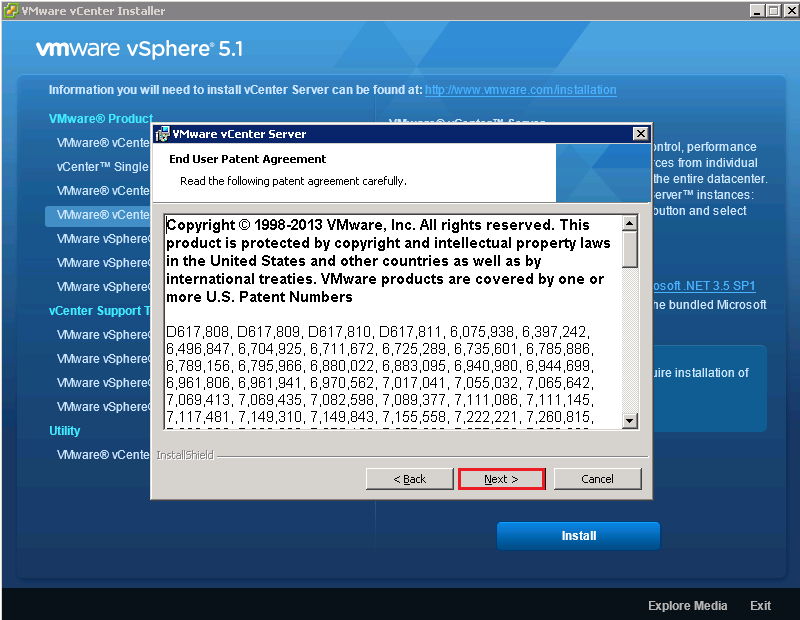
Accept the EULA
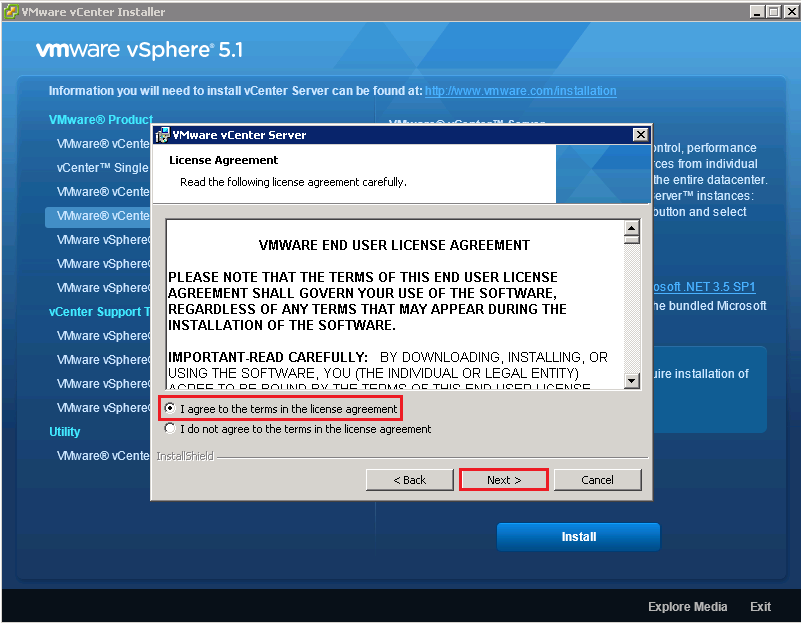
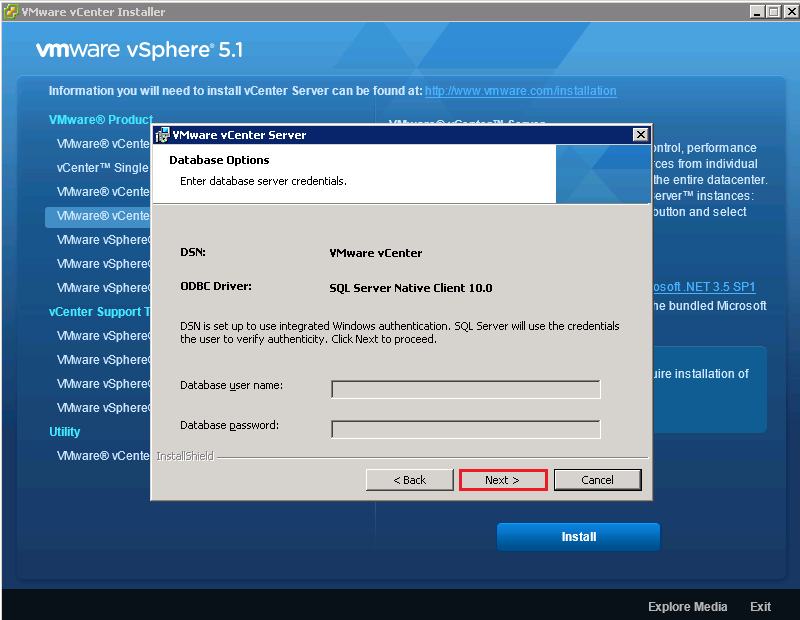
Click Next so that vCenter can authorize itself against your vCenter Database
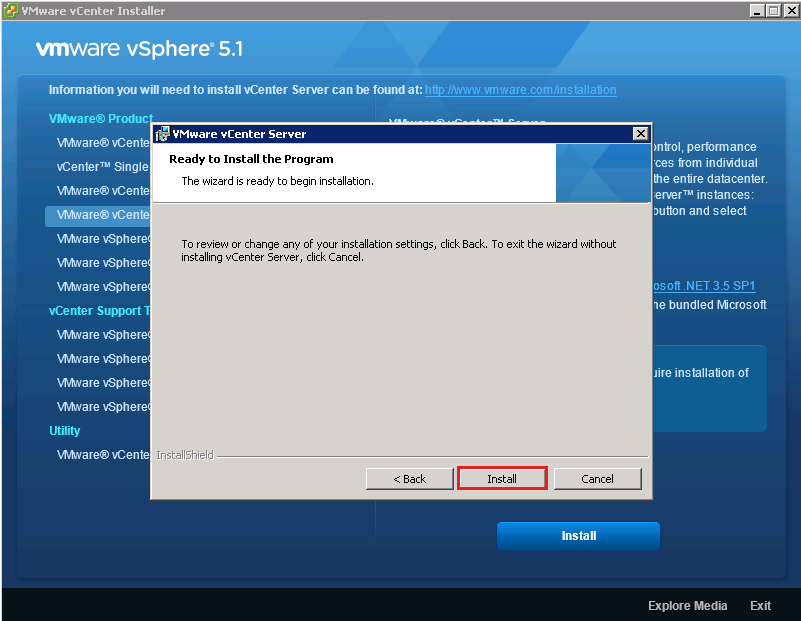
Click Install
Cool, that took a bit of time, installing Orchestrator, but we are there now!
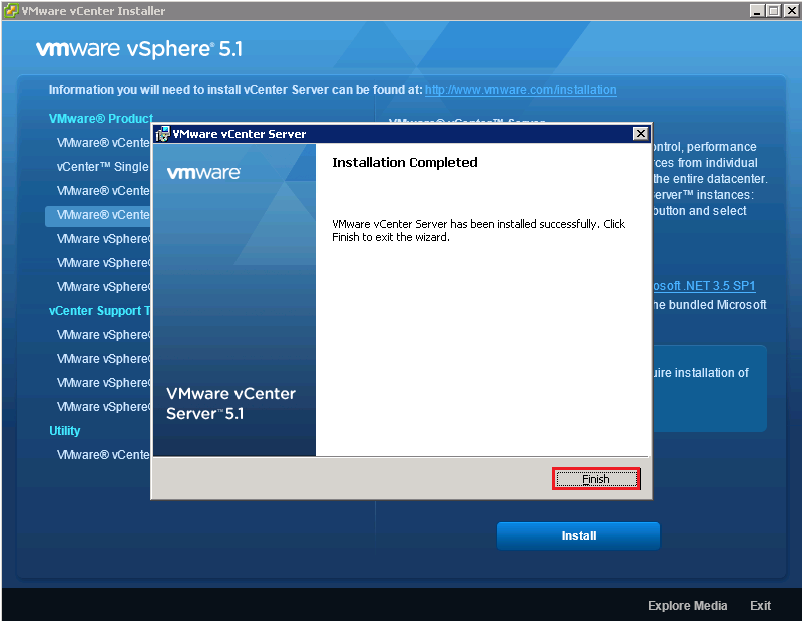
I recommend you login to vCenter to make sure everything is gravy, which I’m sure it will be.
Peripheral Application Installation
Now that the main parts of the vCenter Server 5.1 U1 are done, I’m going to upgrade the following applications:
- vSphere Web Client
- vSphere Update Manager
Both of these have a simple Next, Next, Install, so it didn’t seem worthwhile adding screenshots for this.
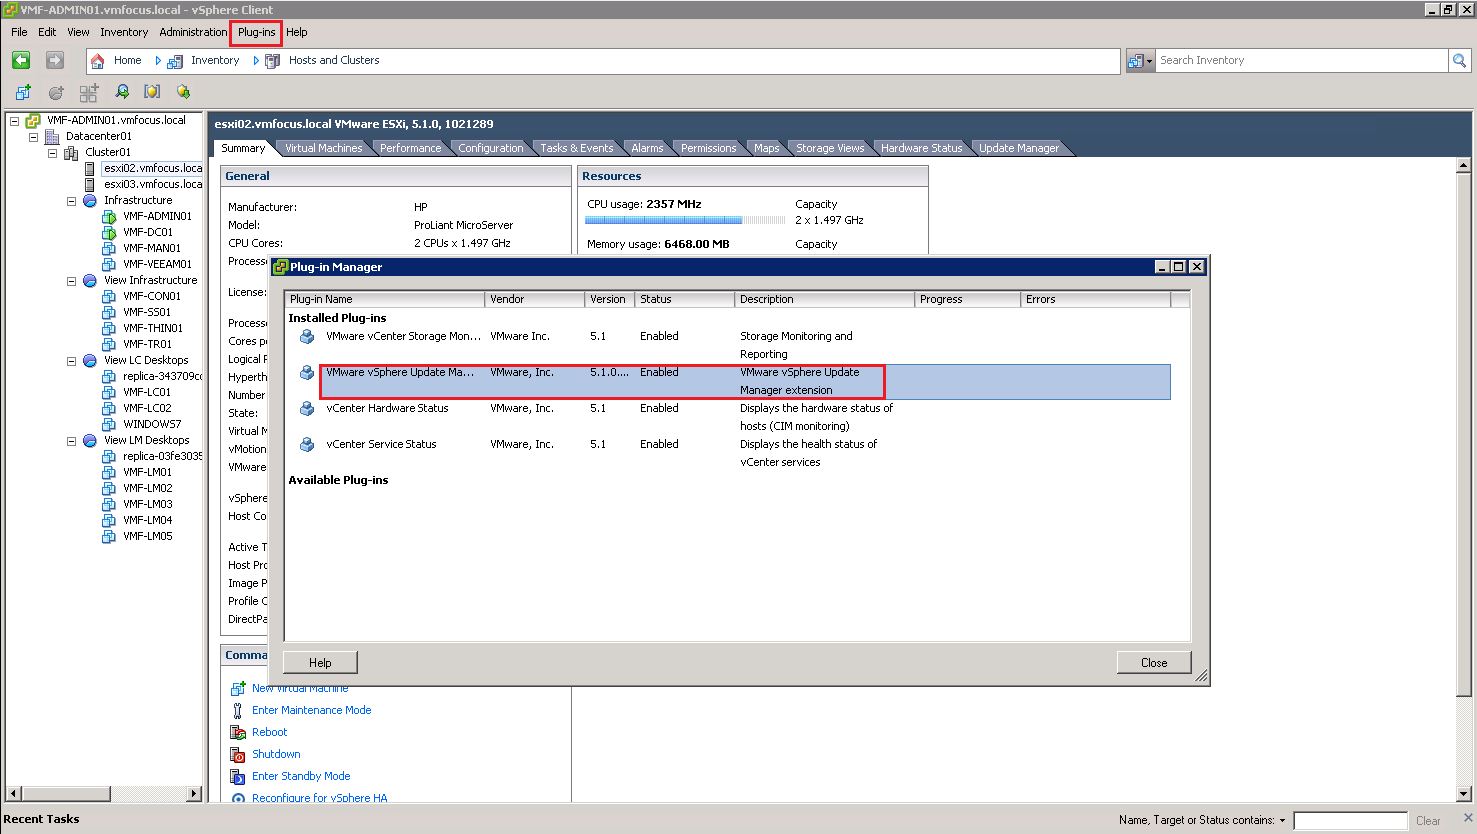
The only thing to add, is that you will need to re Enable the vSphere Update Manager plug in vCenter again after it has been installed.
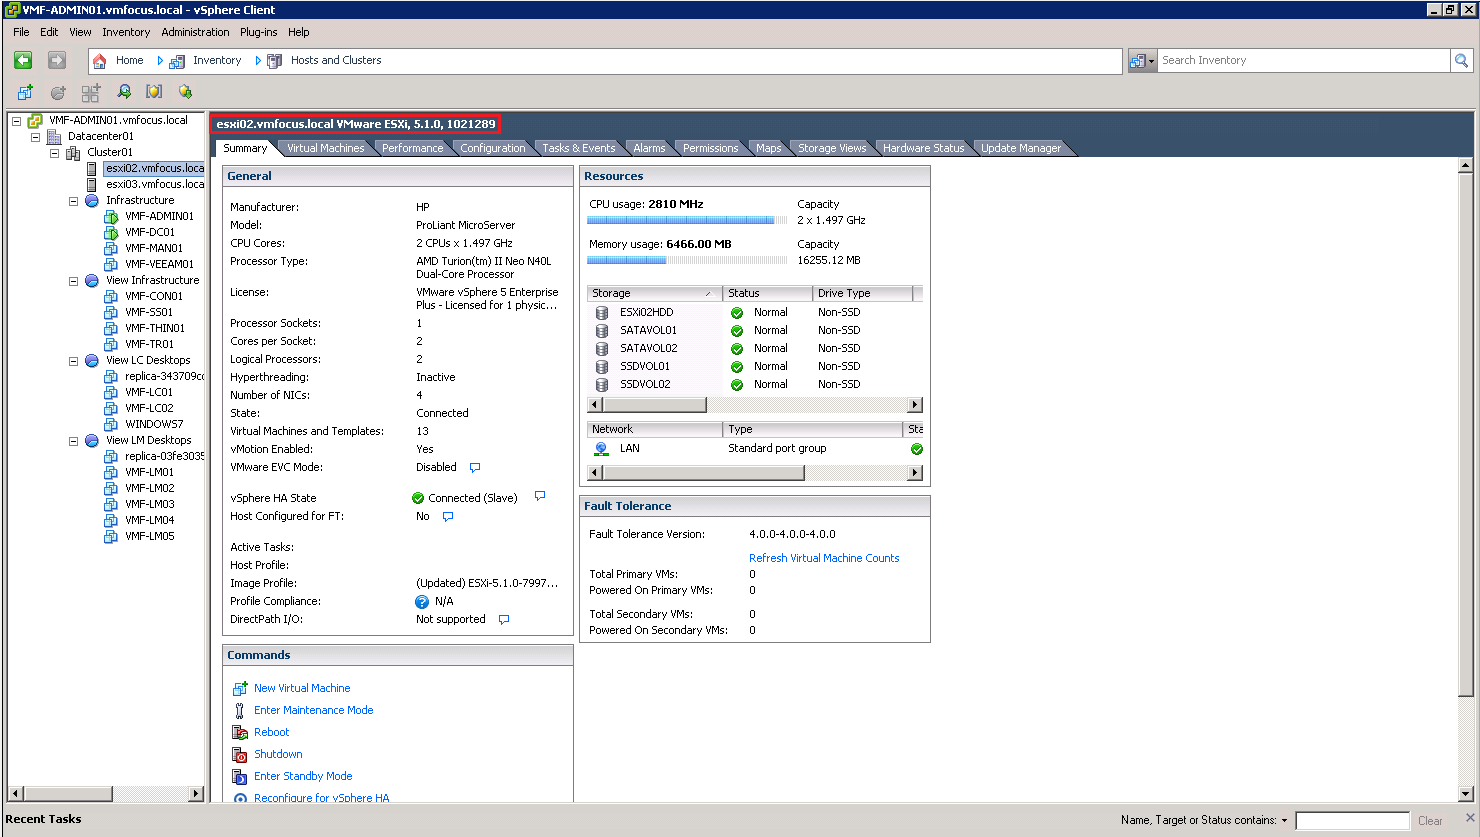
ESXi Hosts
To update my ESXi Hosts, I’m going to use the HP Custom Image for ESXi 5.1.0 U1 which can be found here
A bit like Blue Peter, here’s a blog post I created earlier called called ‘How To See Local RAID In ESXi 5.1‘ which shows you howto upgrade using a custom image.
