
Knowledge
- Identify Transfer Server repository
- Identify vCenter Server that contains the Transfer Server
- Identify the Transfer Server virtual machine
I’m not going to follow protocol on this blog post, as I want to show you the configuration steps, you will see by doing this we cover the objectives above with ease.
The Transfer Server Repository is the location for your Linked Clone Replicas (the snapshot of your original Operating System) or your Manual Desktop Pool. It’s worthwhile noting that the Transfer Server can only be used with Dedicated Desktops, not Floating Desktops.
If you are rolling with Linked Clones, then you need to Publish your Snapshot which is the base image for your Linked Clone Pool.
Couple of caveats before we move forward:
- Make sure your VM is running Hardware Version 7 (at the time of this post 8 is meant to be supported but I haven’t tested it yet).
- Make sure that your Transfer Server SCSI Controller is set to LSI Logic Parallel
The Transfer Server Repository can be a network share located on another server or NAS, or in my case it’s an extra VMDK added to the VMF-TR01.
I have already added my Transfer Server into View to make sure I had it working before I did a blog post!
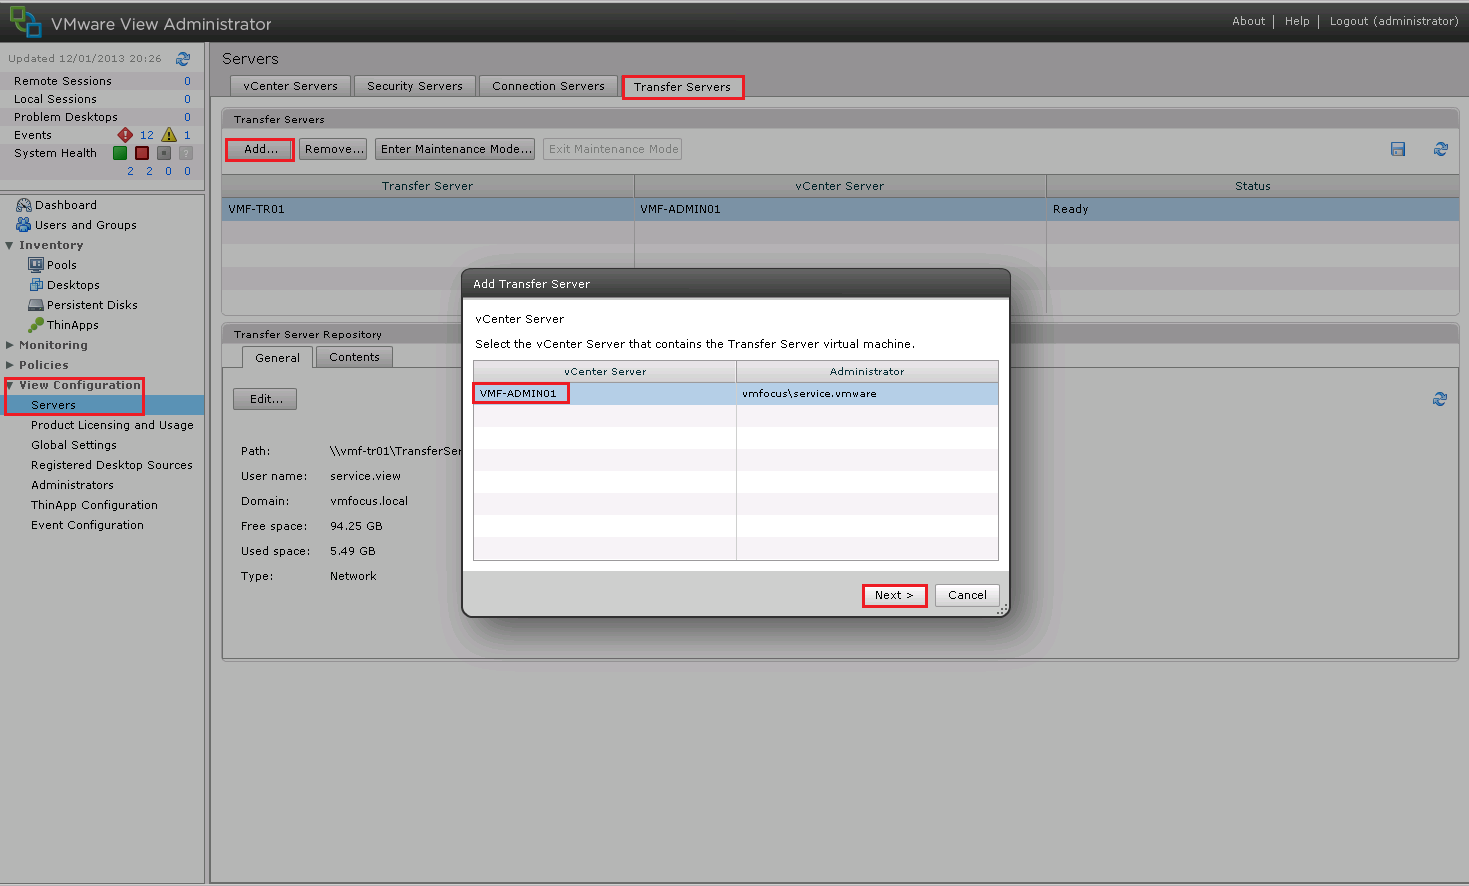
However, the process to enable the Transfer Server is fairly straight forward, go to View Configuration > Servers > Transfers and Select Add and choose your vCenter Server
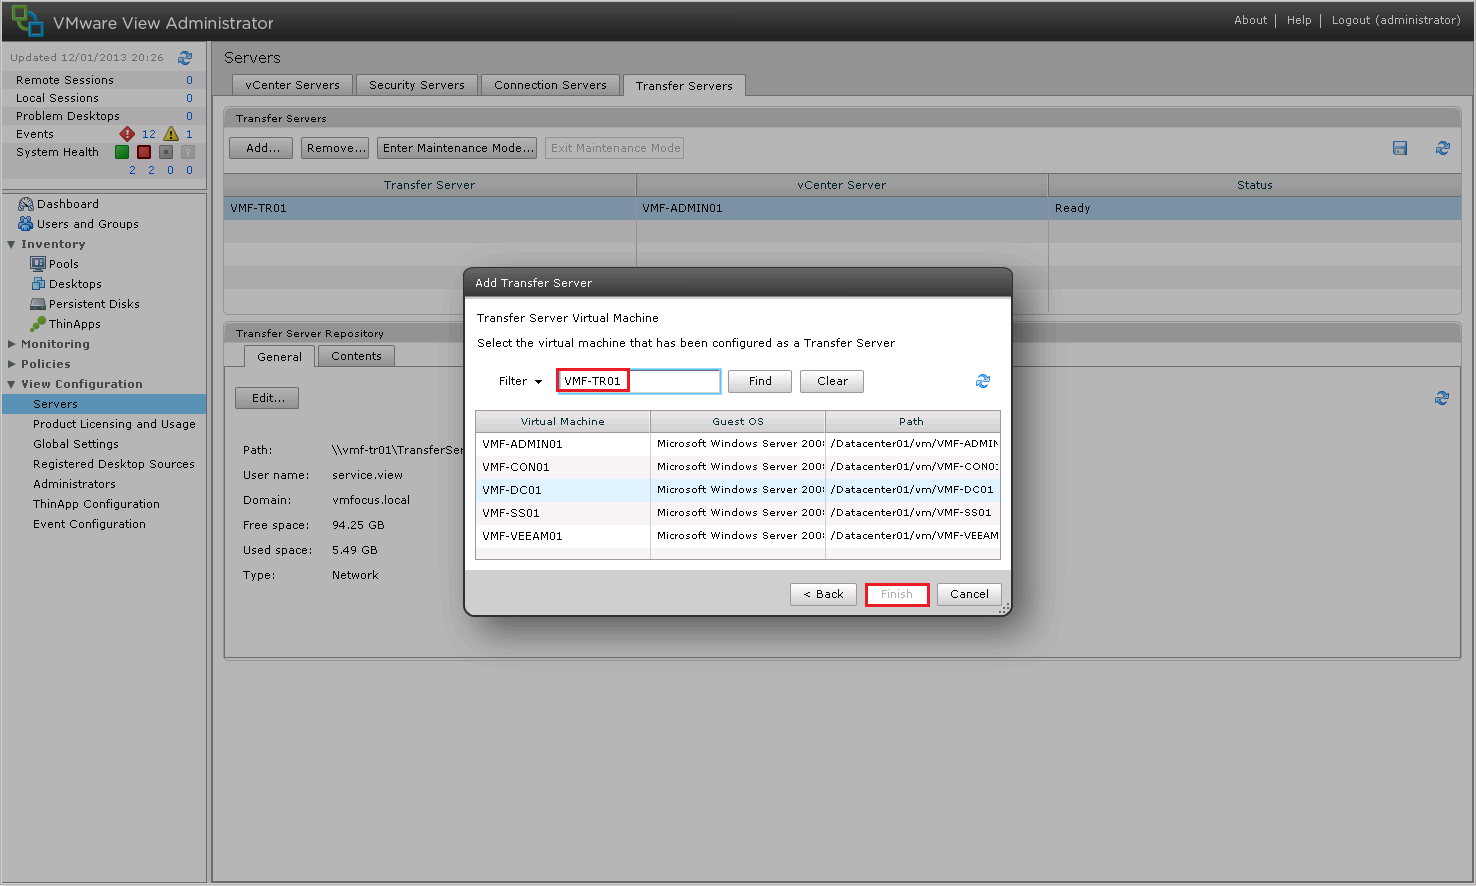
Select your Transfer Server from the drop down list and Click Finish
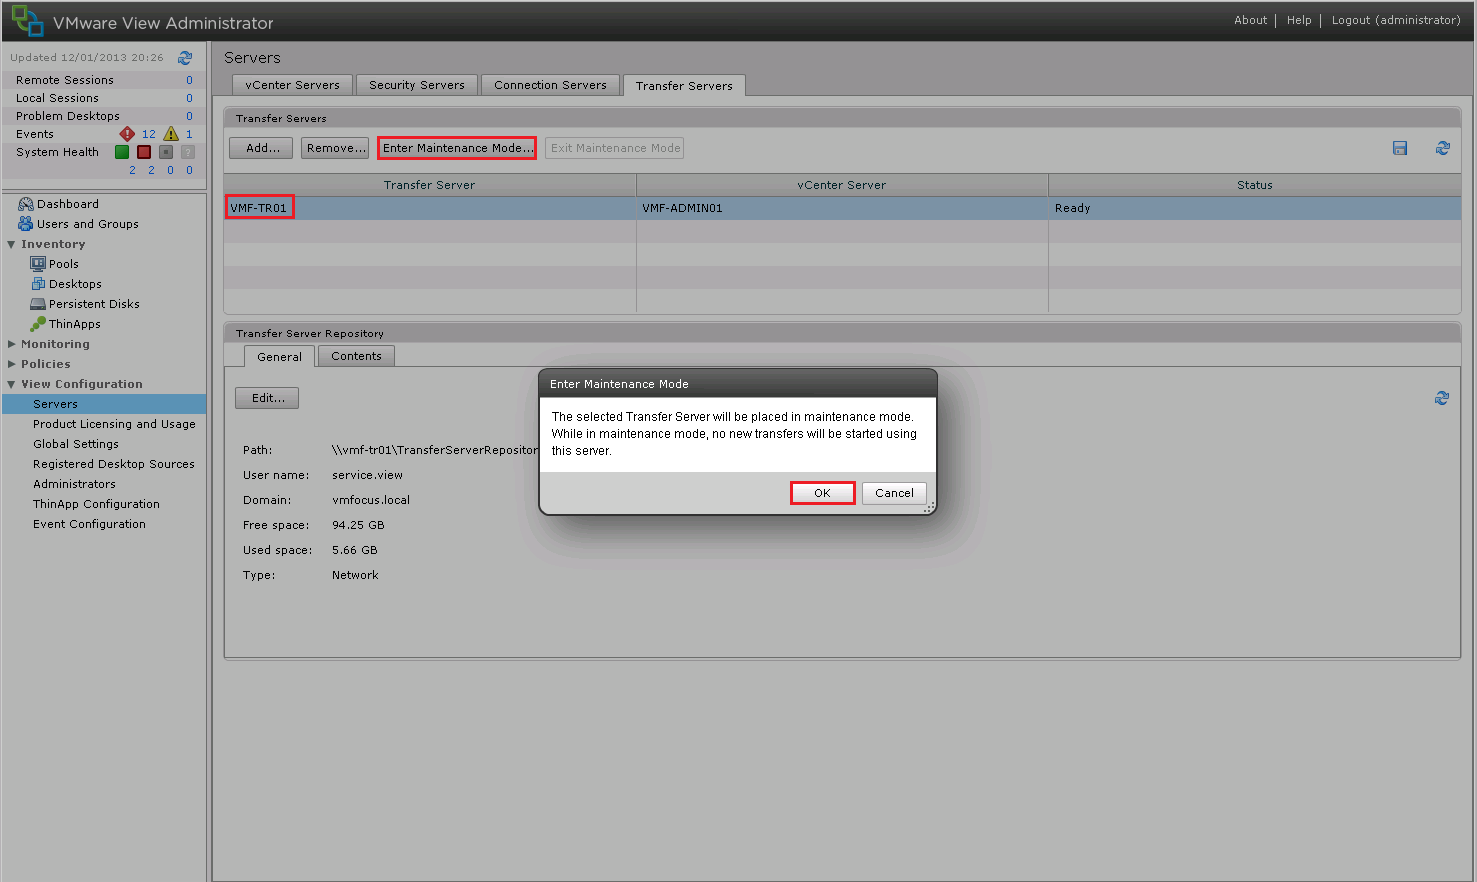
Next we need to add some images to our Repository, so click on Transfer Server Repository and Click Edit and we get an epic failure ‘the settings for the Transfer Server repository cannot be edited until all the Transfer Servers are placed into maintenance mode’.

Simple fix, we just need to do what View tells us. We need to Enter Maintenance Mode, by virtue of this, no new transfer will be able to take place, so bear this in mind in production.
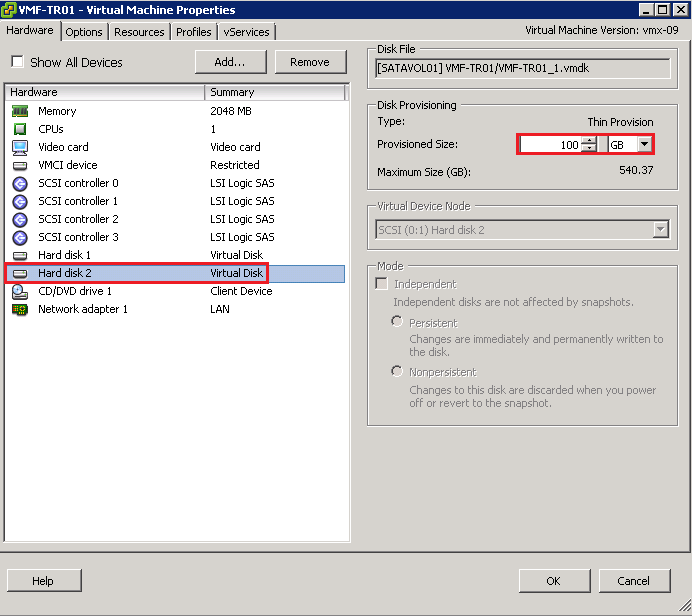
Cool, now we are in Maintenance Mode, we can add an Image to our Repository. First thing we are going to do is add another HDD to our Transfer Server. You can see that I have added a 100GB VMDK Thinly Provisioned
In this instance, I have created a D: Partition called Data and a Folder named ‘TransferServerRepository’

This folder has then been shared out and I have given the Active Directory User ‘service.view’ Read, Write and Modify permissions.
Back to View Administrator and we want to Edit the Transfer Server Repository and enter the following details:
- Network Share \vmf-tr01TransferServerRepository
- User Name service.view
- Password Password
- Domain vmfocus.local

Now we need to Publish our Snapshot to the Transfer Server Repository. Hit the Contents Tab and Click Publish and we get another epic fail ‘Publishing is not enabled because no Transfer Servers are currently working properly’.

The reason being we are still in ‘Maintenance Mode’ so lets ‘Exit Maintenance Mode’ and try again.
Cool, select your View Composer Image and Click OK (mines already been uploaded).
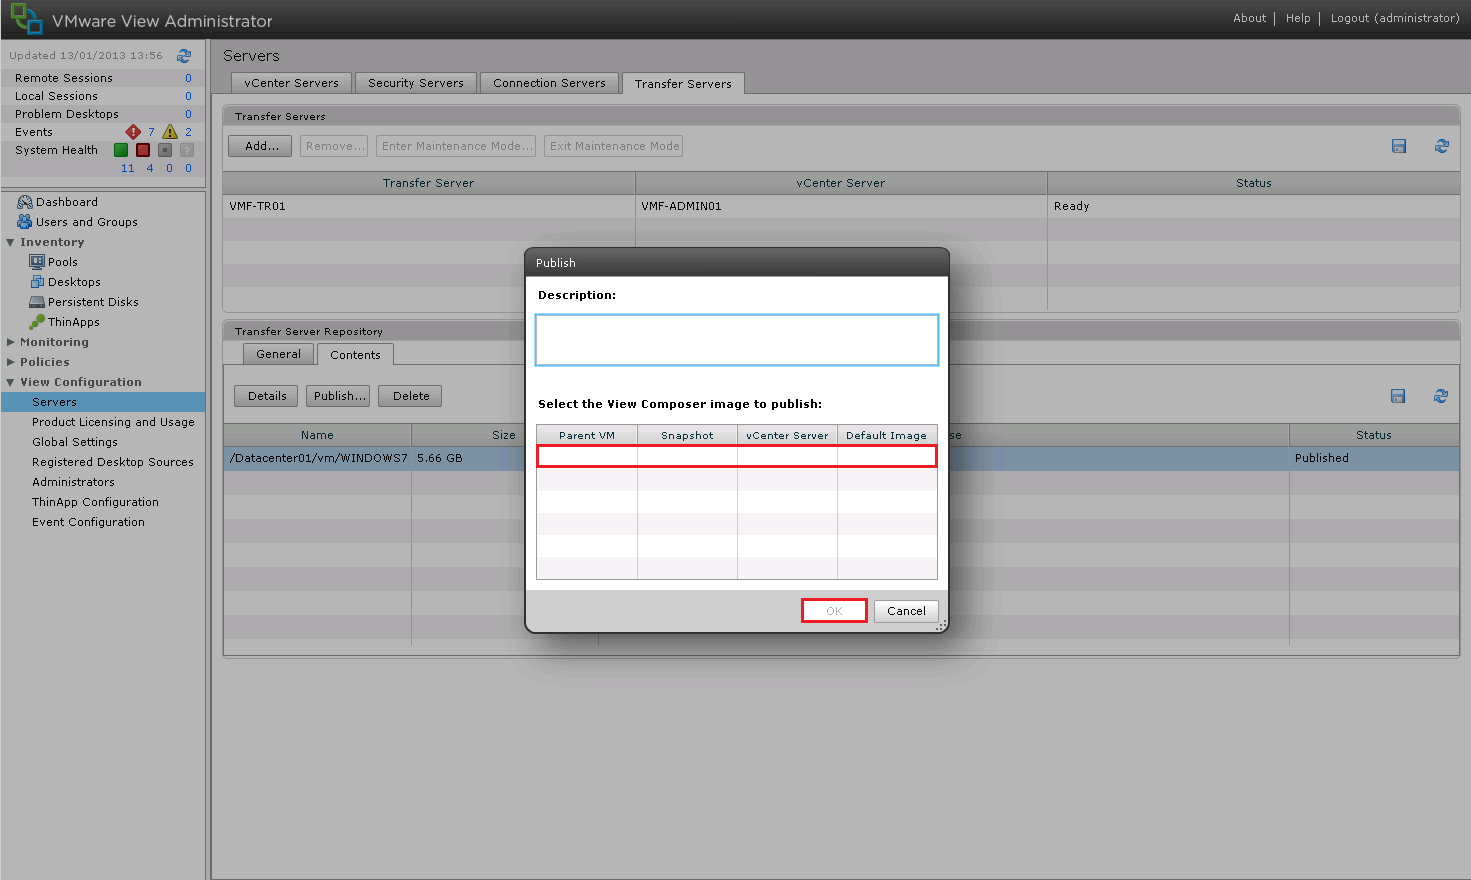
This is going to take quite a while, so it might be worth grabbing a cup of tea.
Once it’s all done you should see that the Image is Published and the Transfer Server is Ready.
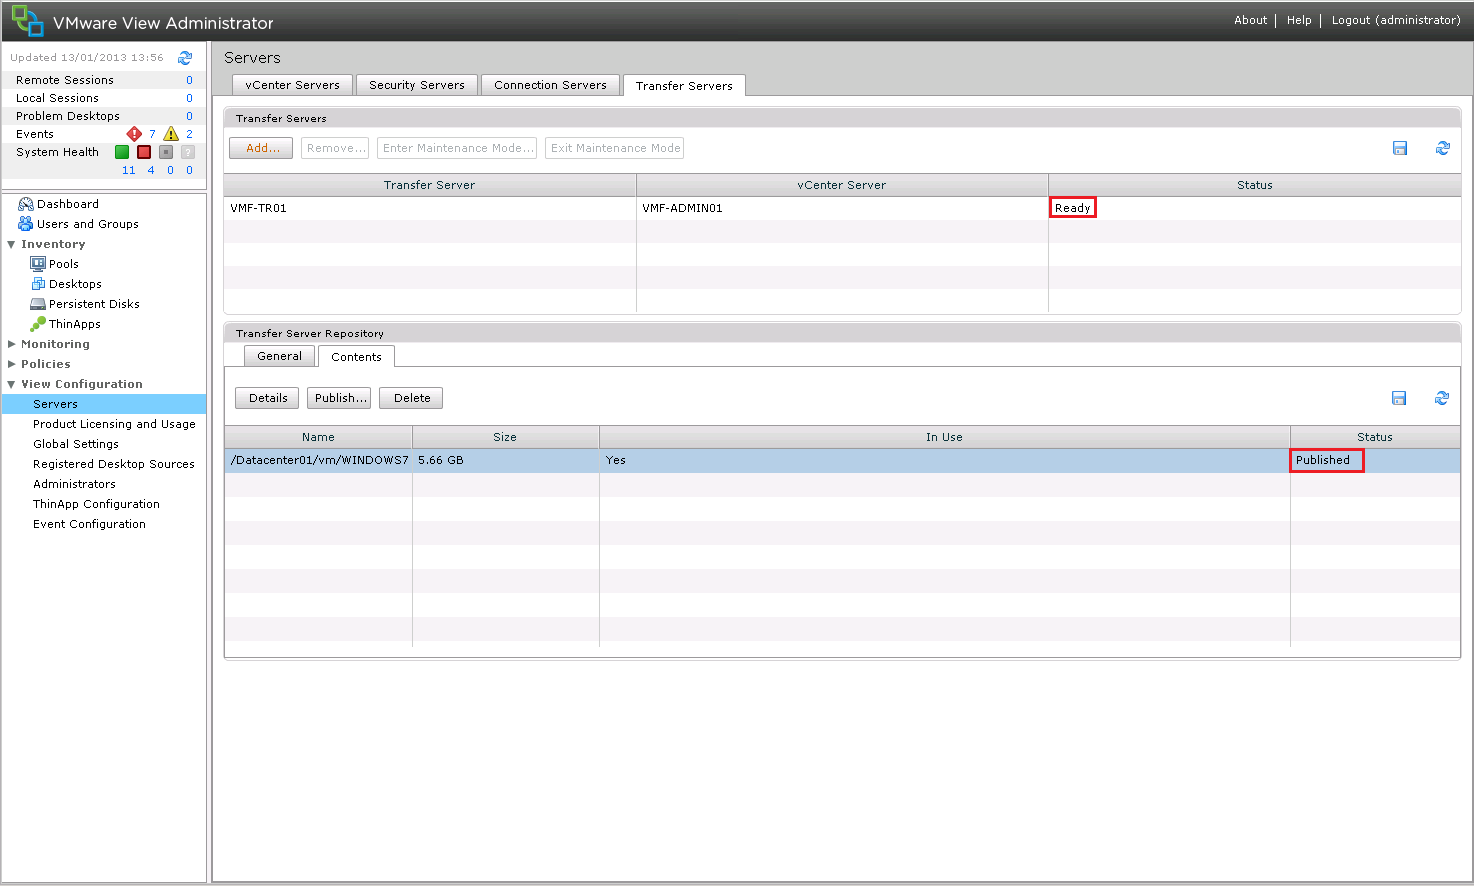
That’s this objective done, we play around with the Transfer Server in a bit more detail during Objective 2.10

One thought on “VMware View – Objective 2.5 – Configure View Transfer Servers”