Knowlegde
- Identify floating vs. dedicated assignments
- Identify persistent disk settings
- Identify the disposable disk settings
- Identify pool settings
- Identify provisioning settings
- Identify base image and snapshot
- Identify vCenter Server resource settings
- Identify guest customization settings (e.g., QuickPrep, Sysprep)
I’m going to break protocol on this post and go through configuring a Linked Clone Desktop, which will then cover all of these objectives.
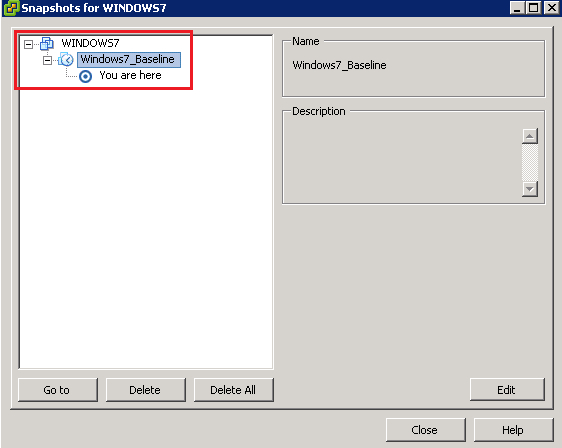
In my previous blog post Objective 3.5 – Build desktop sources we covered building the baseline Windows 7 VM. Before taking a snapshot I would recommend performing an ipconfig /release on your VM, just so nothing in the Windows TCP/IP stack interferes with our deployment.

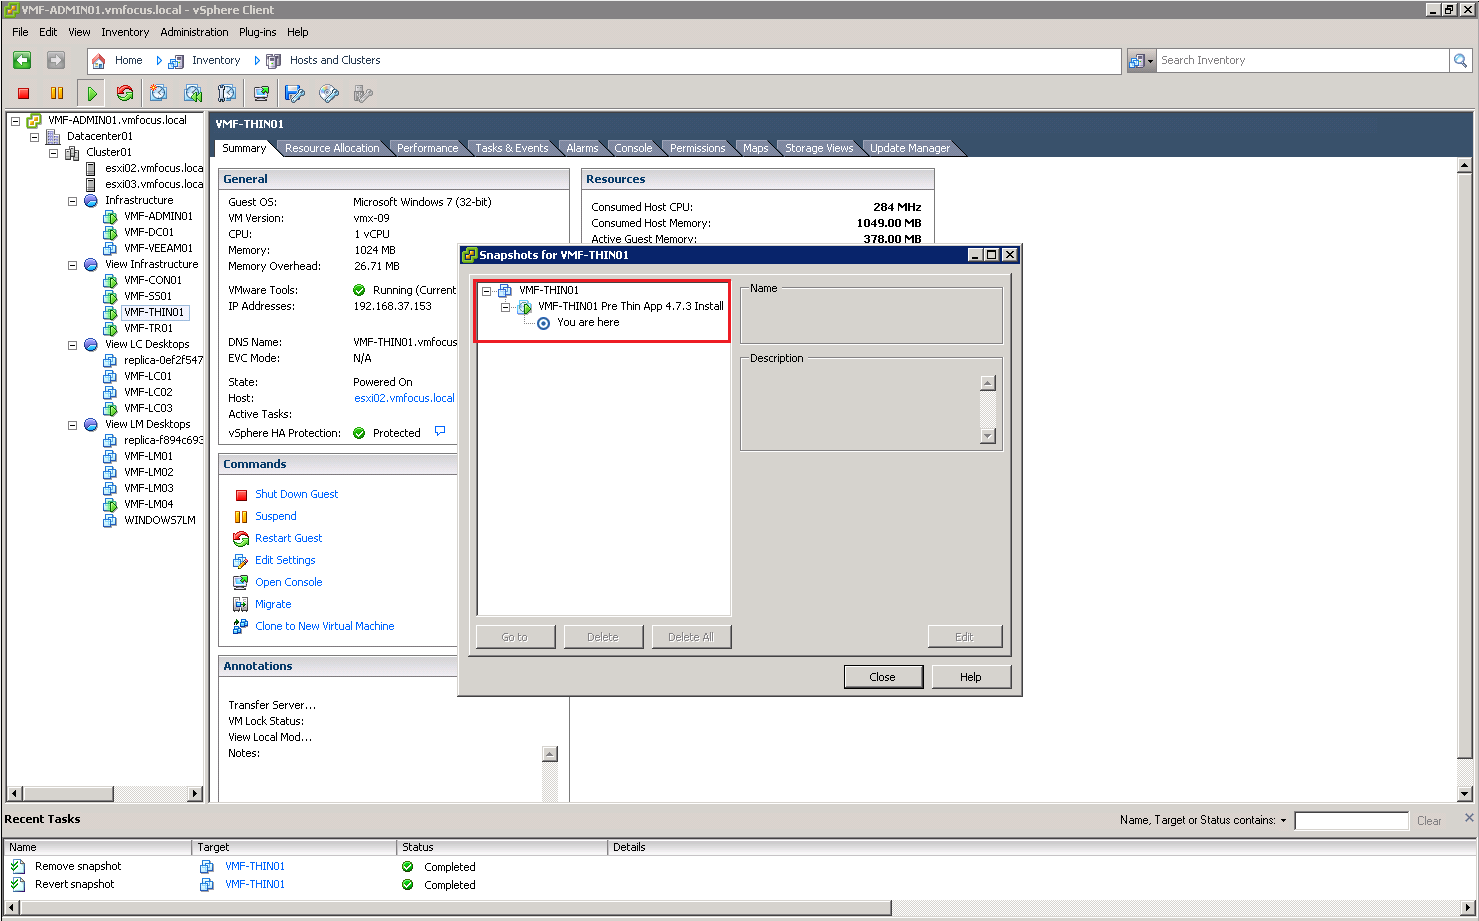
Power down your Windows 7 base VM and take your snapshot, mine is originally entitled Windows7_Baseline

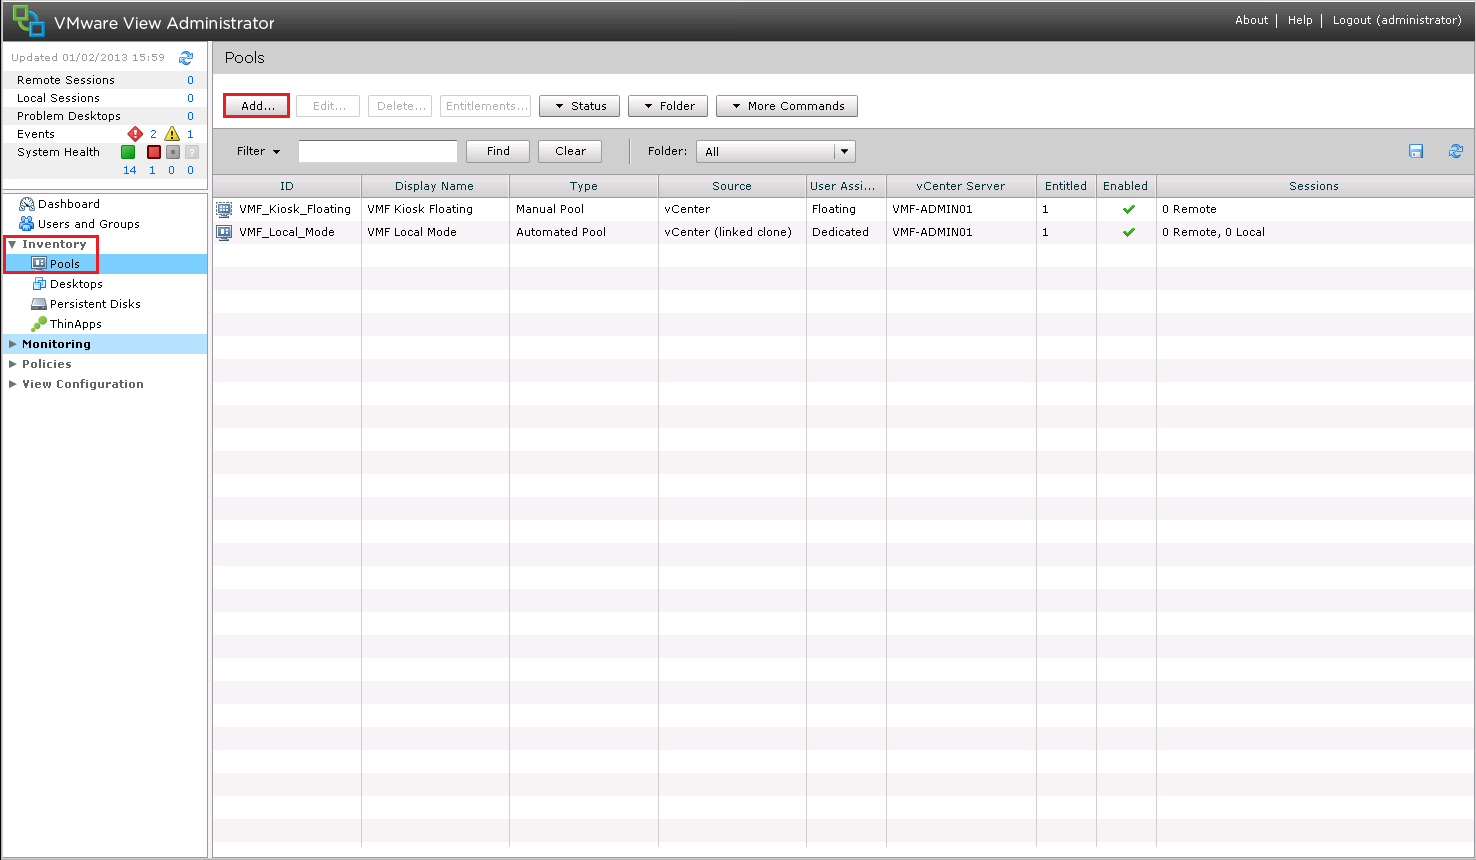
Hop into View Administrator and go to Inventory > Pools > Add
We are going to select Automated Pool. But what is an Automated Pool?
Well it allows View Desktops to be generated on demand. Let’s say you have 100 users, you may not want to generate 100 desktops straight away. So with an Automated Pool you can deploy 50 desktops and then say I want to have 10 desktops always available. This means that 60 desktops will be created and when users 51 logs in the 61 desktop will be created.

Next we need to choose how the Users will be assigned to the desktop. We have two choices:
Dedicated – This means when a Users logs in, a desktop is assigned to them and this is the desktop they will always continue to use.
Floating – This means the User is not assigned a desktop and is used in environments such as call centers where desktop personalisation is not a requirement.
I’m going to select Dedicated and I will allow View to manage assigning desktops to users, by ticking ‘Enable automatic assignment’.

We are going to select View Composer Linked Clones. Linked Clones, are awesome! They save a large amount of space on your storage as rather than having a full copy of each desktop you have a link to a replica VM taken from the original snapshot. Then each Linked Clone has a a Delta Disk which references back to the original Replica. I think a diagram is in order to understand the process.

We have selected View Composer Linked Clones and hit Next

Next we need to enter our ID, this is static and once entered cannot be changed, so make sure it’s something relevant.
The Display Name isn’t static and can be changed on the fly, you can also change the folder as well.

Now we have alot of choices to make, so let’s run through them.
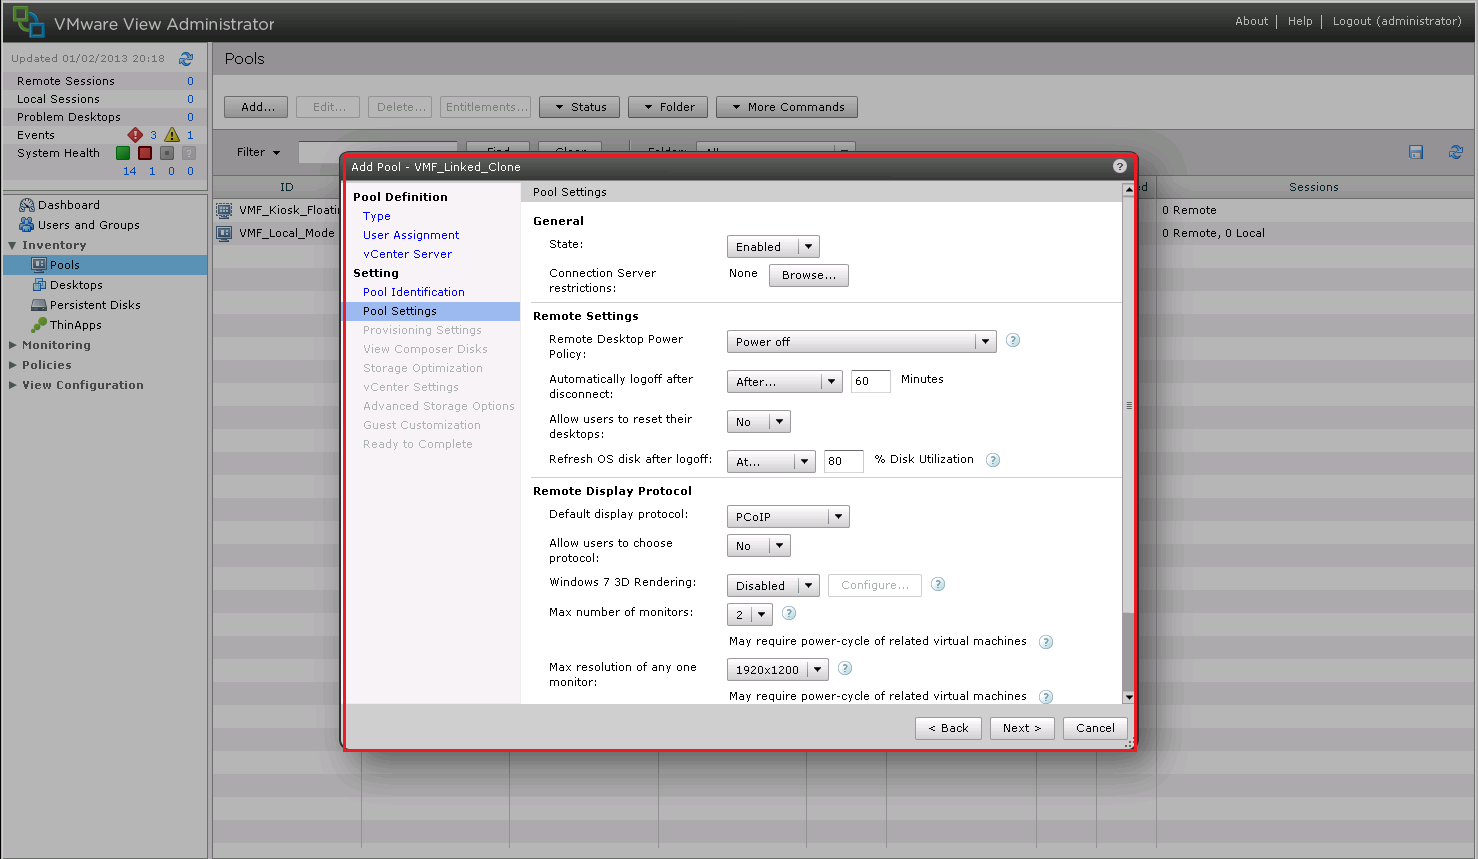
General
State – Either the Pool is enabled or disabled
Connection Server Restrictions – We can limit this Pool to use a particular Connection Server
Remote Policy Settings
Remote Desktop Power Policy – We can define what happens with desktops after a users has logged off/disconnected. Take no action, power it off, suspend or ensure desktop is always powered on
Automatically Logoff After Disconnect – Choice of, Immediate, Never or After ‘x’ minutes. I normally use 90 minutes as it allows people to go to lunch and come back without loosing any work.
Allow Users To Reset Their Desktop – Err, this is yes or no
Refresh OS Disk After Logoff – This enables the VMDK to go back to it’s original state, which is essentially a recompose. If you enable this then it does take a little while before users can log back in again. This can be configured to never happen, every logoff, at % of disk usage or every ‘x’ days
Remote Display Protocol
Default Display Protocol – This is View, we have to choose PCoIP
Allow Users To Choose Protocol – Err, this is yes or no
Windows 7 Rendering – We need some cool Aero Themes going on enable this and choose how much vRAM to pump at it
Max Number Of Monitors – If two isn’t enough you can always increase it too four
Max Resolution Of Any One Monitor – How many pixels do you need?
Adobe Flash Settings For Remote Sessions
Adobe Flash Quality – Selecting lower quality will save on bandwidth
Adobe Flash Thottling – Limits the frames per second, giving you some bandwidth saving
Things start to get serious now, as we head over into the Provisioning Settings. The naming pattern I will use for this is going to be VMF-LC01, VMF-LC02 wtc.
To achieve this I will enter VMF-LC{n:fixed=2}
The Pool Sizing area is pretty straight forward, I like to provision desktops on demand, as it puts a smile on my face!

View Composer Disks, this is where my opinion View comes into it’s own. We can have a ‘Persistent Disk’ which creates a new VMDK and placed the Users Profile on it (My Documents, Desktop Icons etc) which remains even if the Users Desktop is recomposed. If you use View Persona Management then I don’t think this has much validity.
The Disposable File Redirection needs to be bigger than the amount of RAM in your Windows 7 Desktop VM. Essentially, this is where any temporary files are stored which can be destroyed upon a desktop shutting down.

On Storage Optimization it’s always worth while separating your disks onto different Datastore if possible to get better performance.
Ideally, you want your Replica Disk to be on fairly fast storage e.g. 15K or above

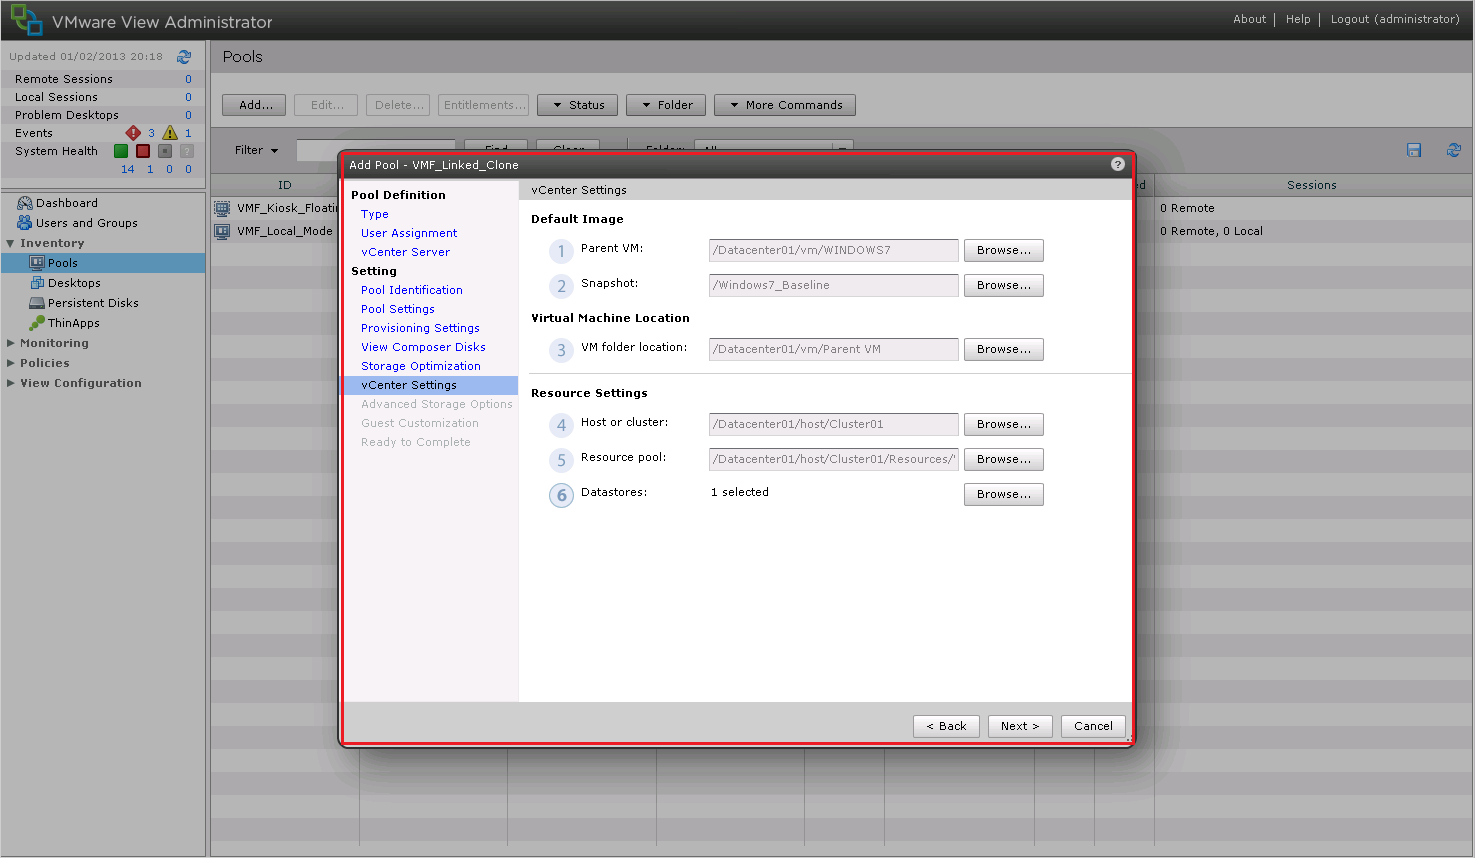
This part is fairly straight forward, we need to select our Parent VM, Snapshot, Folder, Cluster, Resource Pool and Datastore
One thing to note is that we Select Linked Clone Datastore we can choose our Storage Overcommit Policy, which can be None to Aggressive. This defines how much we can over provision our Datastore with Linked Clones
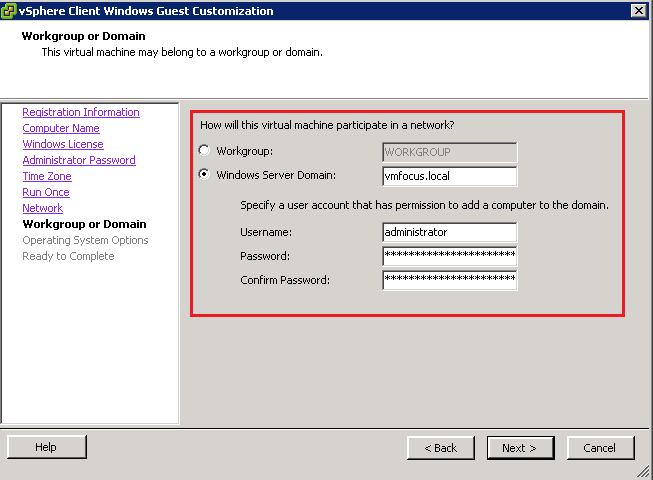
In Guest Customization we can define which Active Directory Organizational Unit the View Linked Clones will be deployed to. We can also choose to use Quick Prep (which I command as it’s a cut down version of Sys Prep) and run various scripts.

I suggest you entitle you Users to the Linked Clone desktop and then you can watch the magic happen!

There we go, Objective 3.1 covered, thanks for reading.