I have been installing and configuring vCenter Site Recovery Manager 5.1.1 and vSphere Replication this week, so thought I would document the process for future reference.
The cool thin with vSphere Replication is that it is array agnostic, meaning that you do not have to have a SAN/NAS which is on VMware’s HCL for the SRA (Storage Replication Adapter). So it will run pretty much any storage solution. In this case at the Production Site we are using a P2000 G3 iSCSI and at the DR Site locally attached storage.
Before I go through the installation steps, I have already configured the following:
- Production SQL 2008 R2 Standard
- DR SQL 2008 R2 Standard
- Production vCenter
- DR vCenter
I have confirmed that I can ping both vCenters using NetBios and FQDN’s.
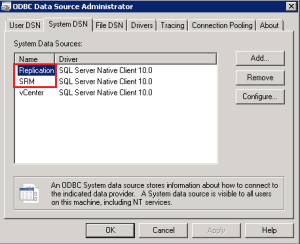
At both Production and DR vCenter I have created an 64 Bit ODBC Connection to the SRM SQL Database and also the vSphere Replication Database
TOP TIP: Before you can use vSphere Replication with SRM, we must configure SRM first
Installing SRM
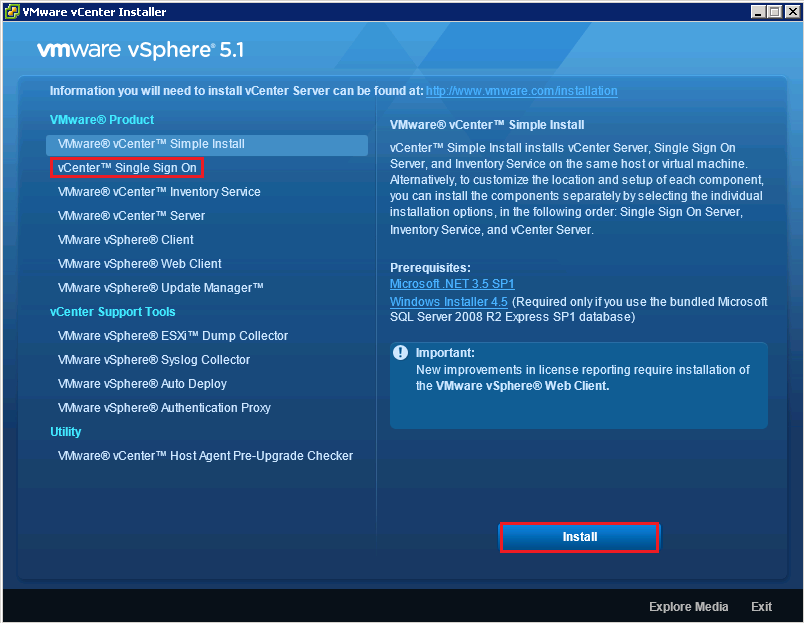
Hopefully on your desktop or other random location, you have an icon called SRM-5.1.0-820150

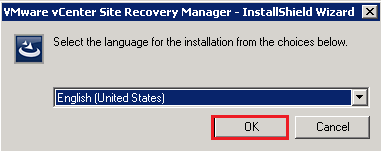
Hit this bad boy to launch the installer, select your language and click OK.

Now this bit takes a while, so I suggest you go make yourself a cup of tea!
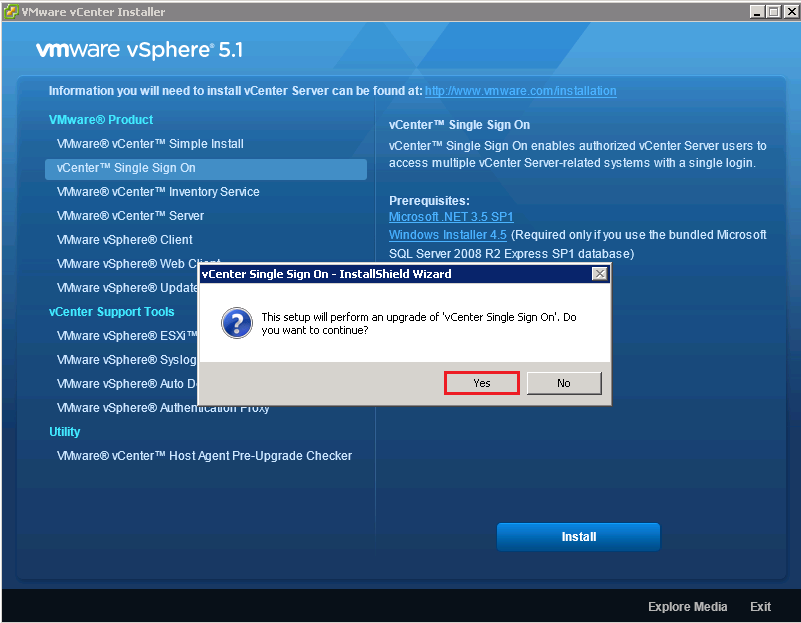
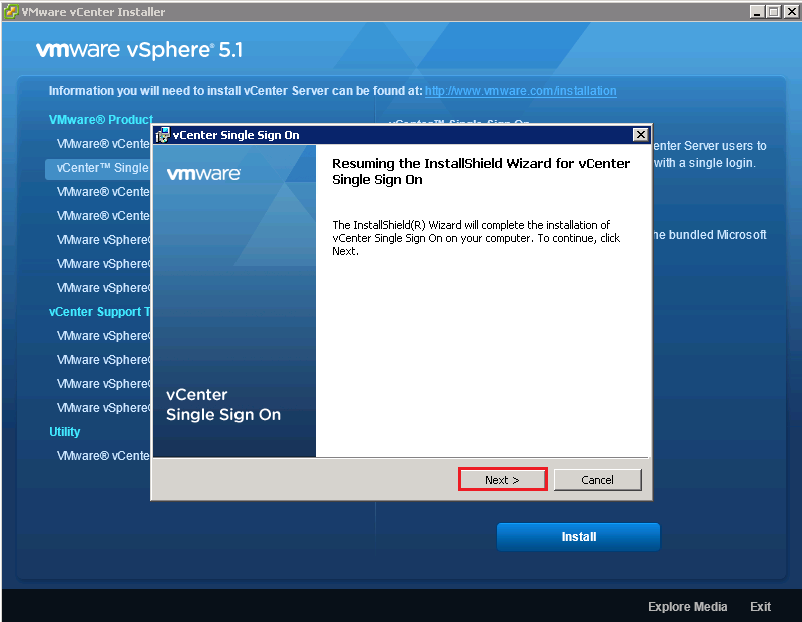
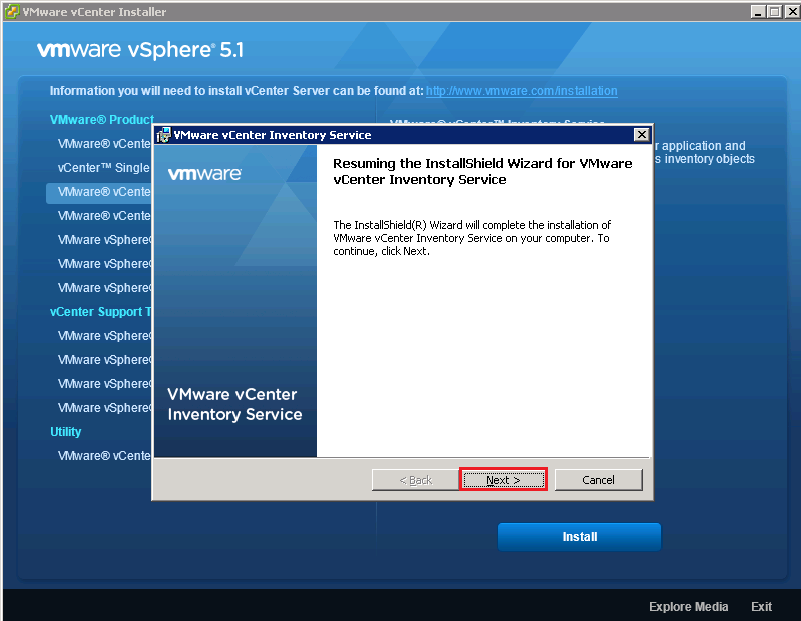
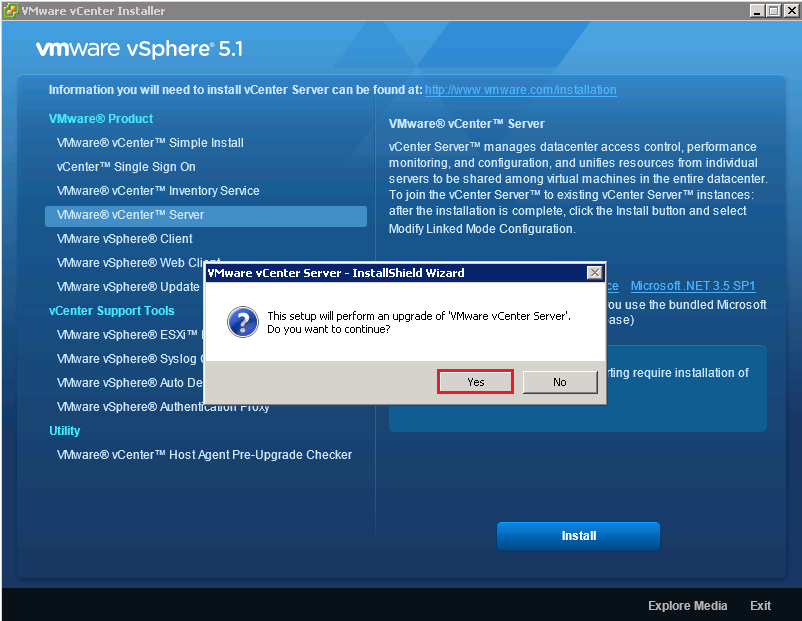
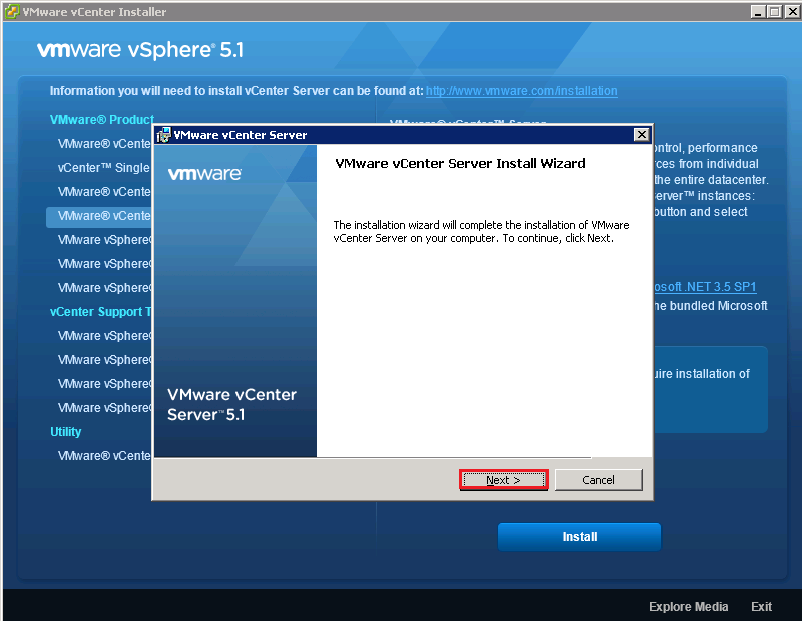
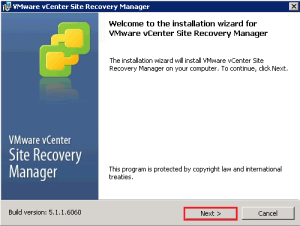
Once it finally pops up you will get the Welcome to the installation wizard for VMware vCenter Site Recovery Manager, click Next
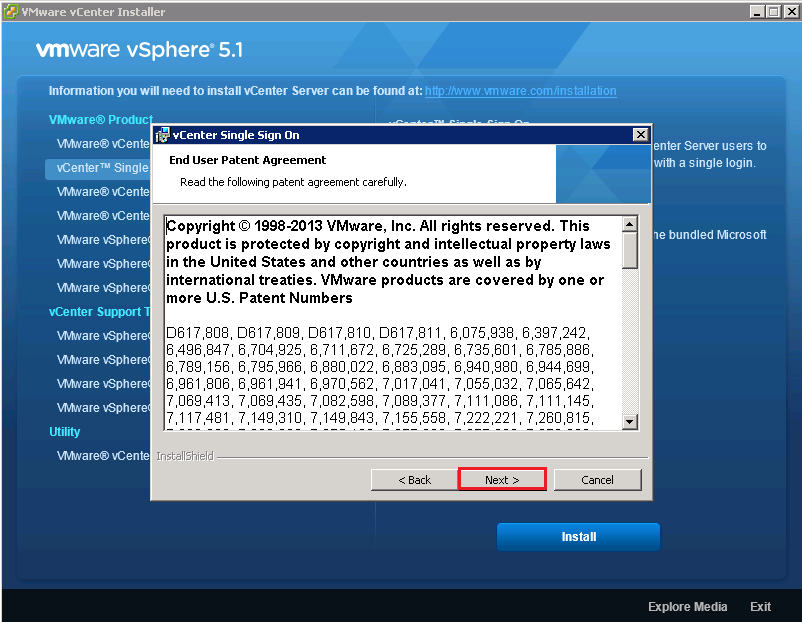
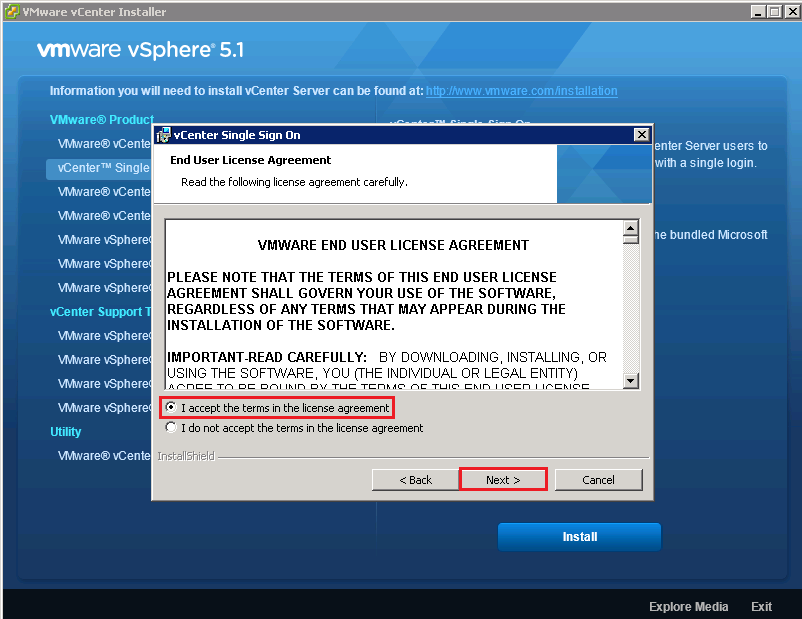
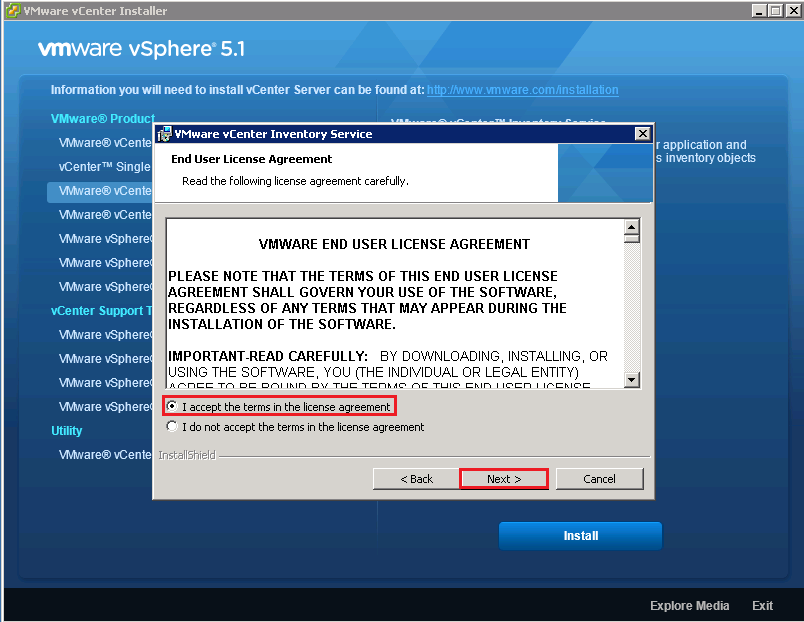
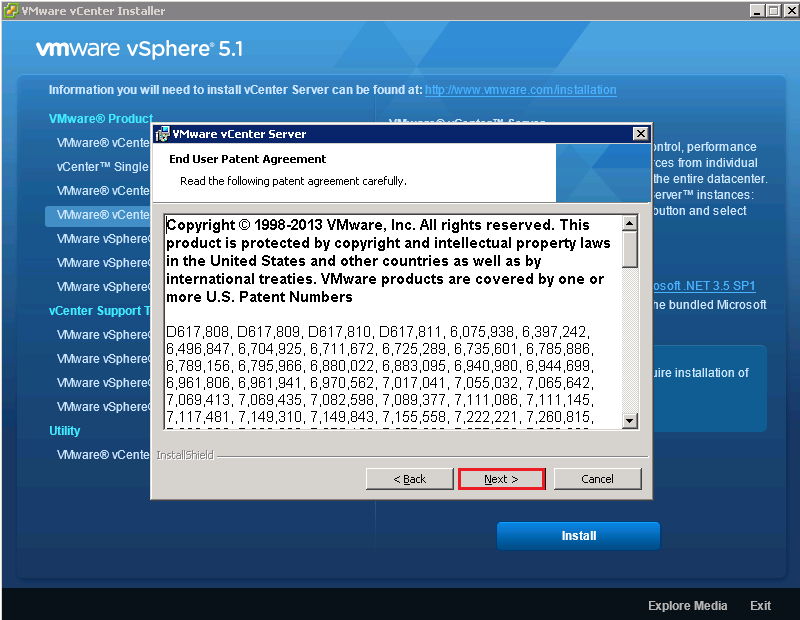
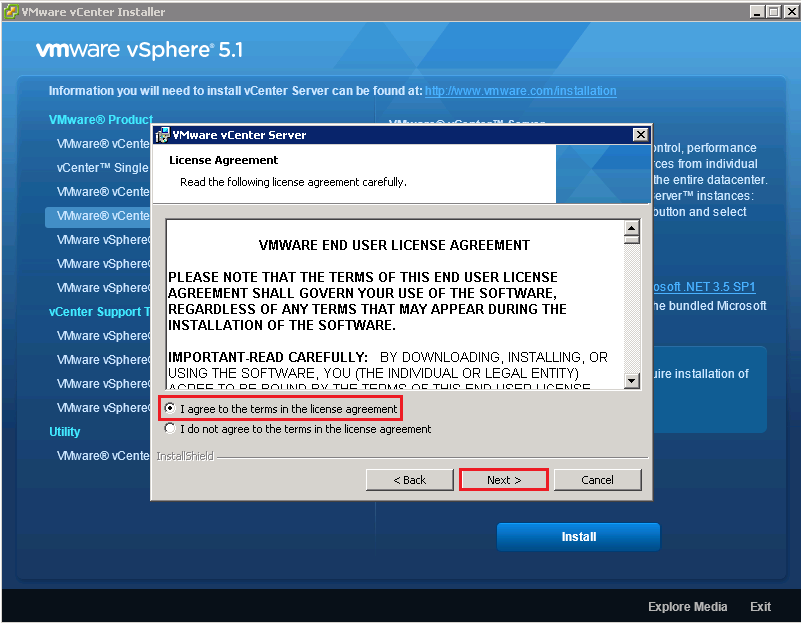
I’m not going to insult your intellect, as I’m sure you can Click Next, Accept the License Agreement and Click Next.
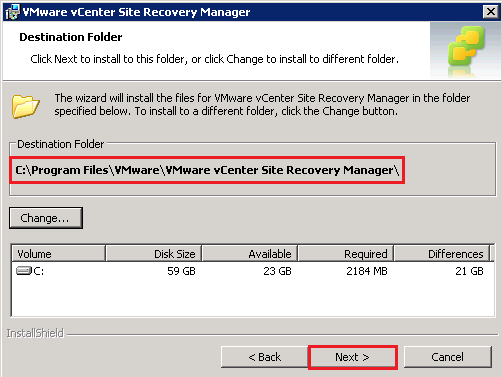
The next screen is the installation folder, as with nearly all installs these days you can change the destination folder. I would recommend accepting the defaults unless you have a specific reason not too.

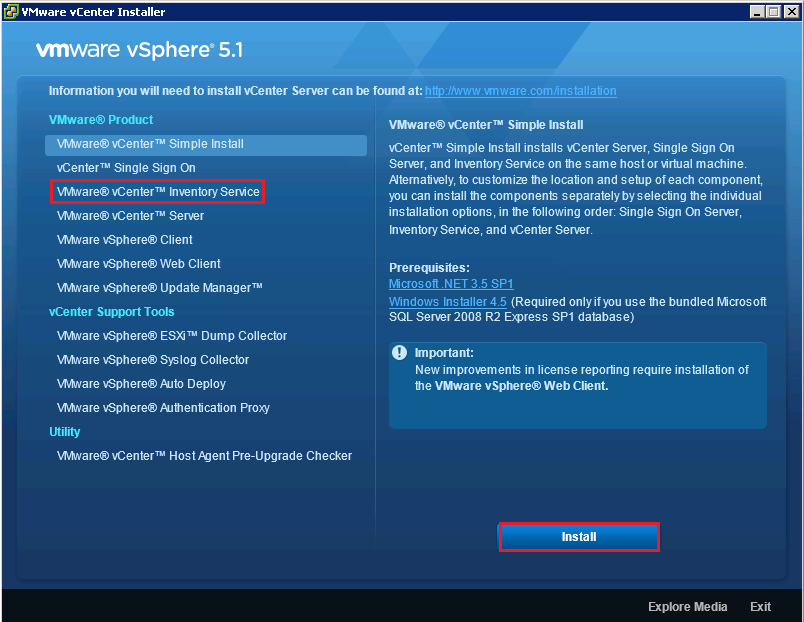
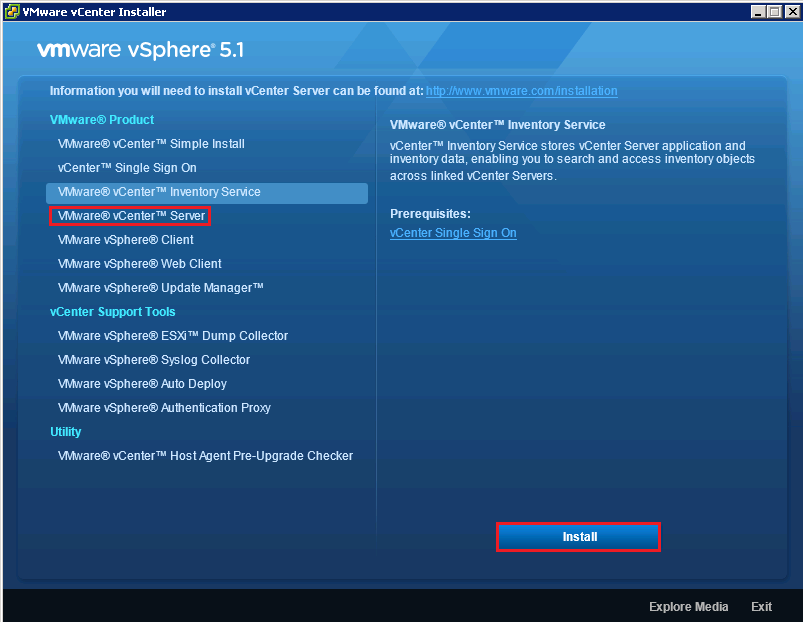
We need to select Install vSphere Replication

Now enter in your vCenter address as a NetBios name e.g. VMF-ADMIN01. I tend to use a Service.SRM account for installing SRM as I prefer to keep individual vSphere components seperate.
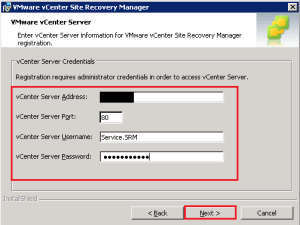
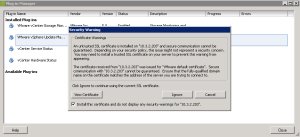
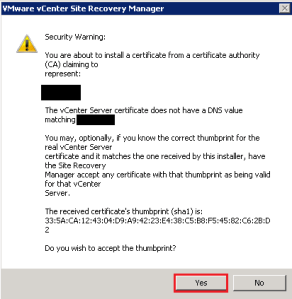
If your credentials are correct then you will see a certificate warning unless you have a PKI infrastructure in place. We are going to accept the SHA1 thumbprint by clicking Yes
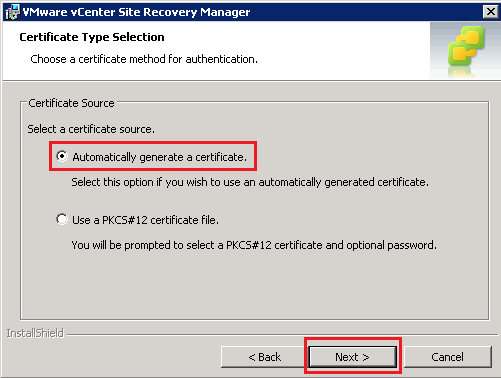
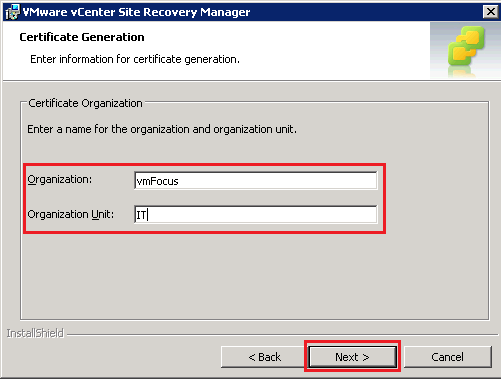
Select Automatically generate a certificate and hit Next

Select Automatically generate a certificate and hit Next

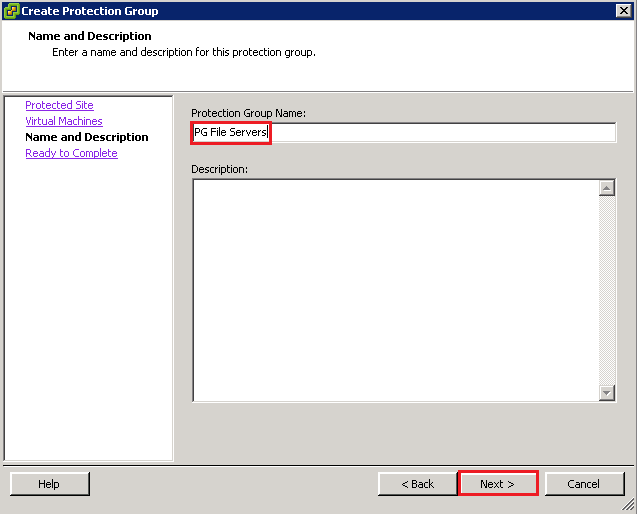
Now we are cooking on gas, enter your Local Site Name, in my case this is Production, email address details and select your Local Host. You can also change default ports if you need to.

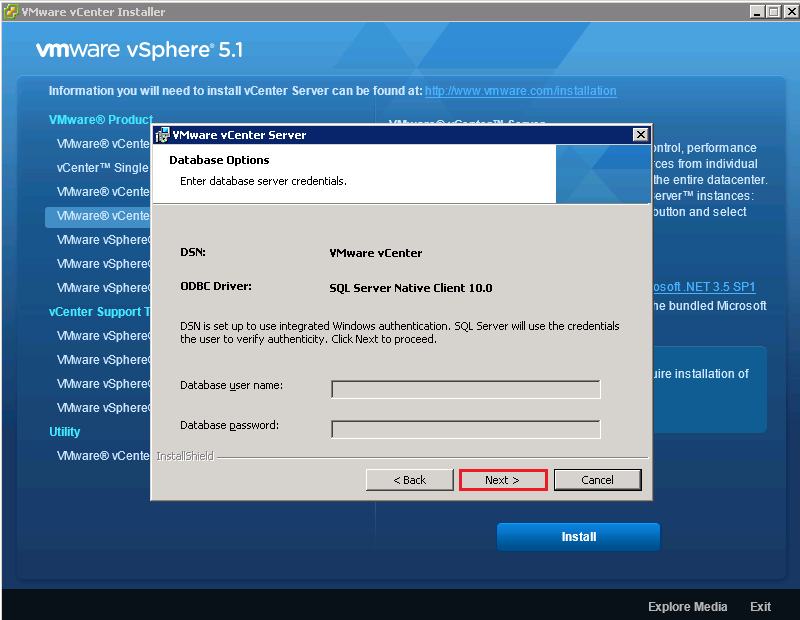
Next select your ODBC connection for your SRM Database, mines originally named ‘SRM’ and enter the credentials required to access the database.

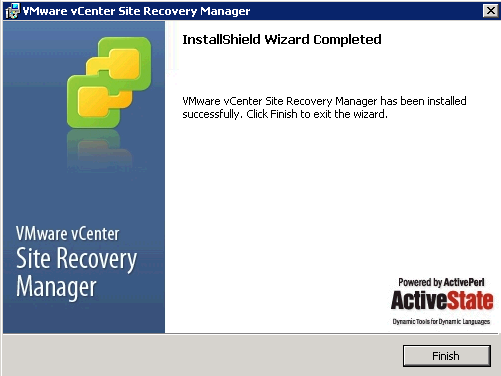
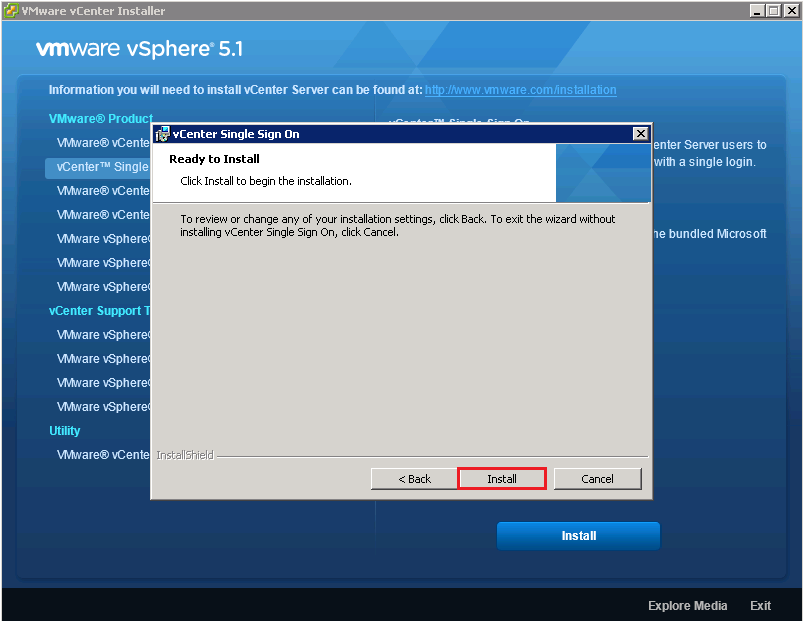
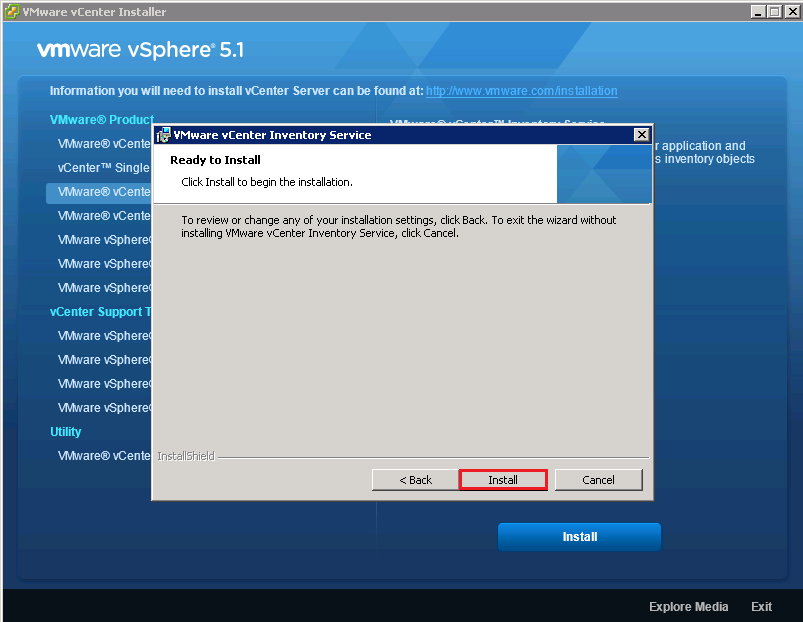
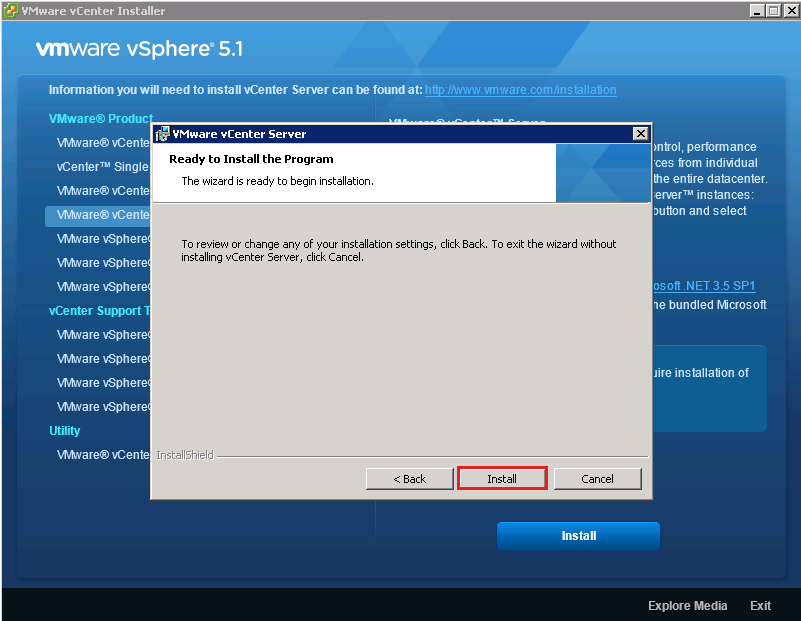
If everything has gone to plan, you should be able to hit Install

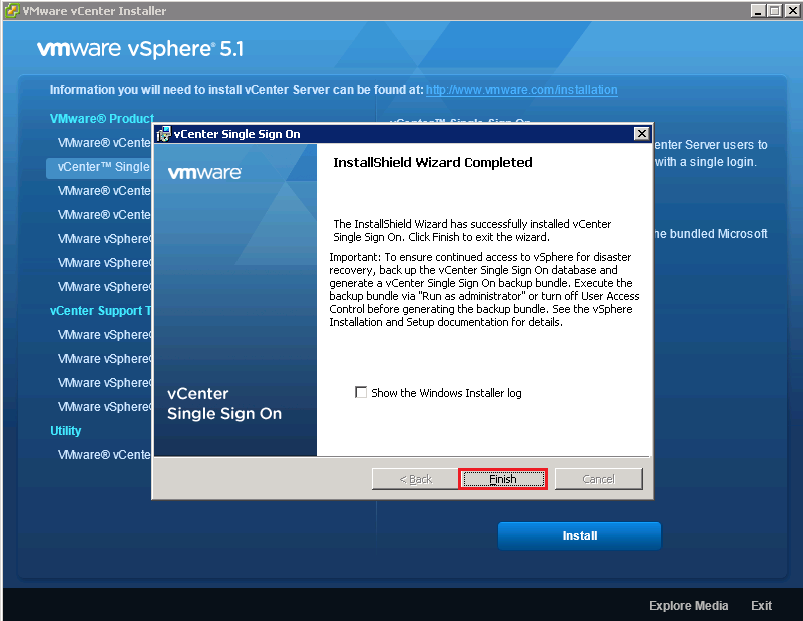
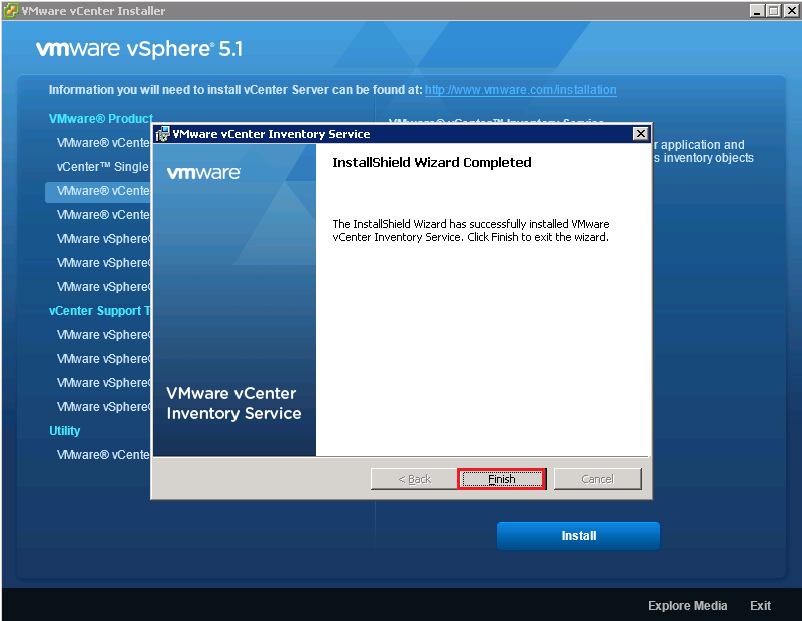
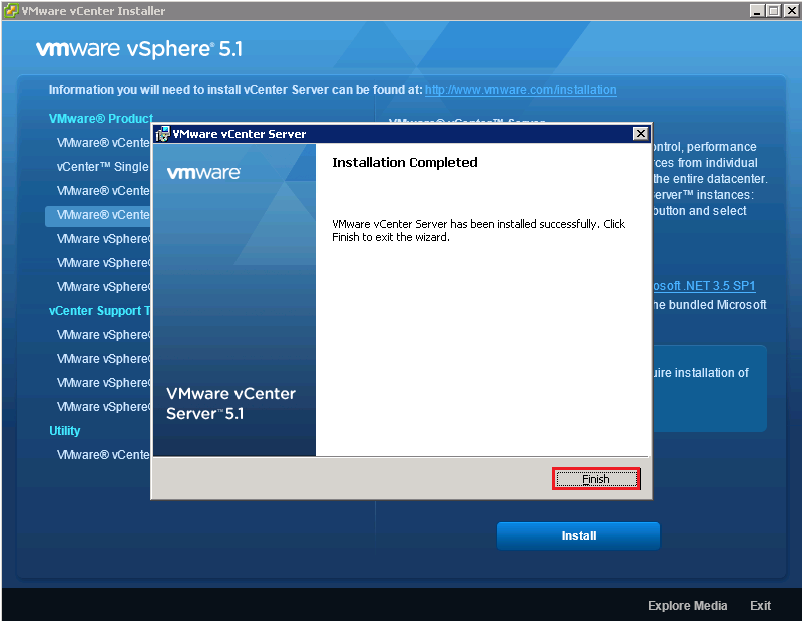
Boom, we have gotten the Finish screen and after clicking it, amazing things happen? Err no, we get nothing.

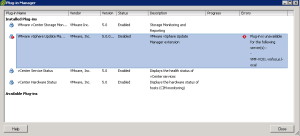
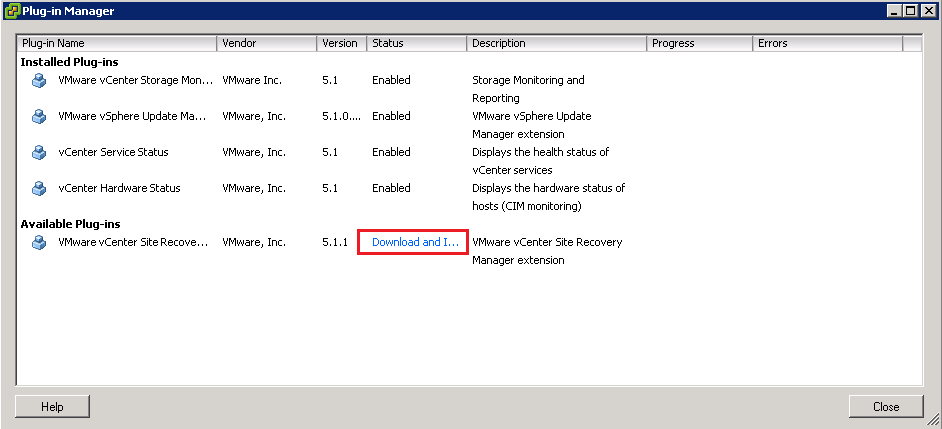
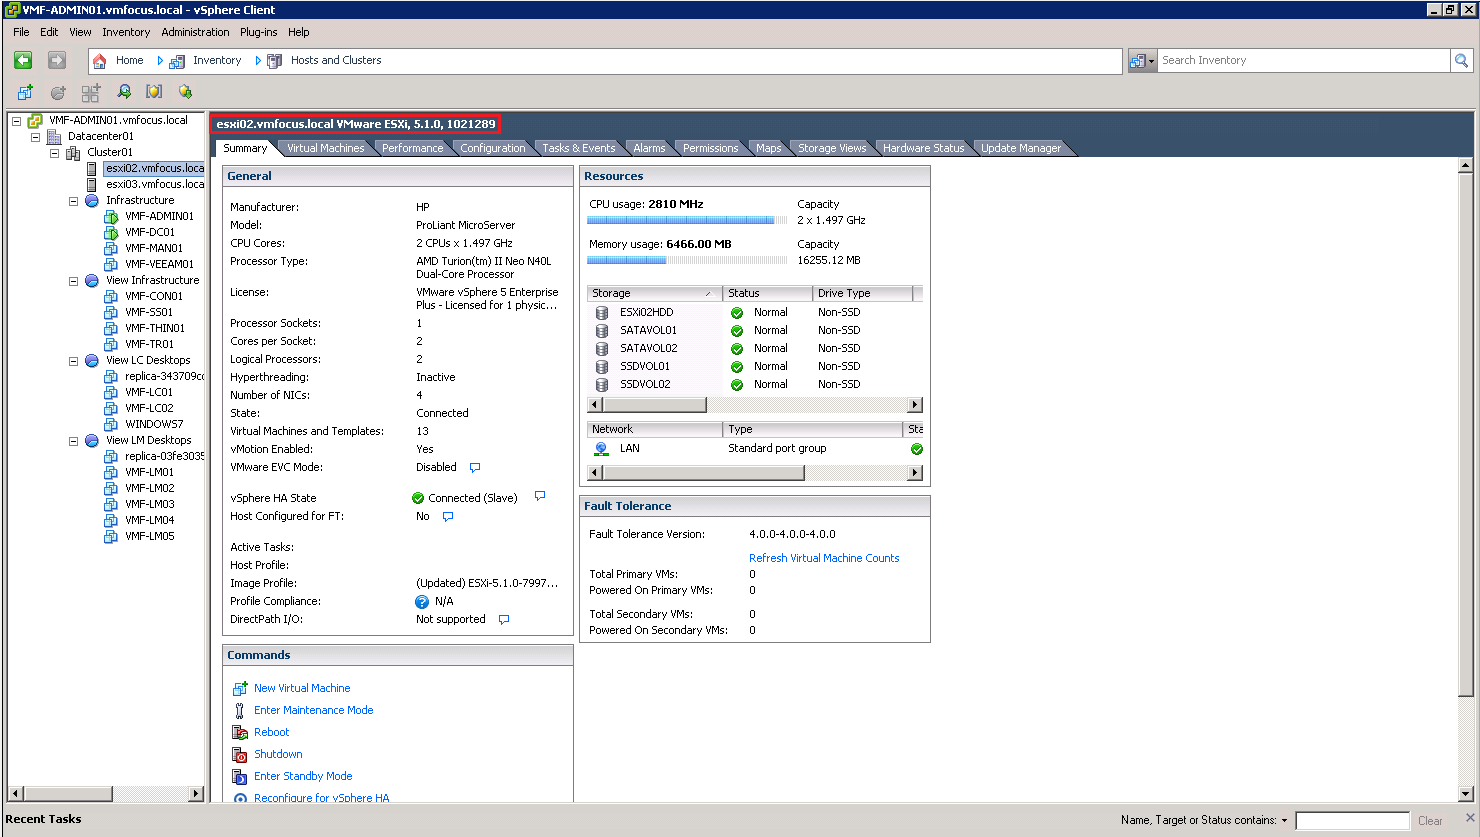
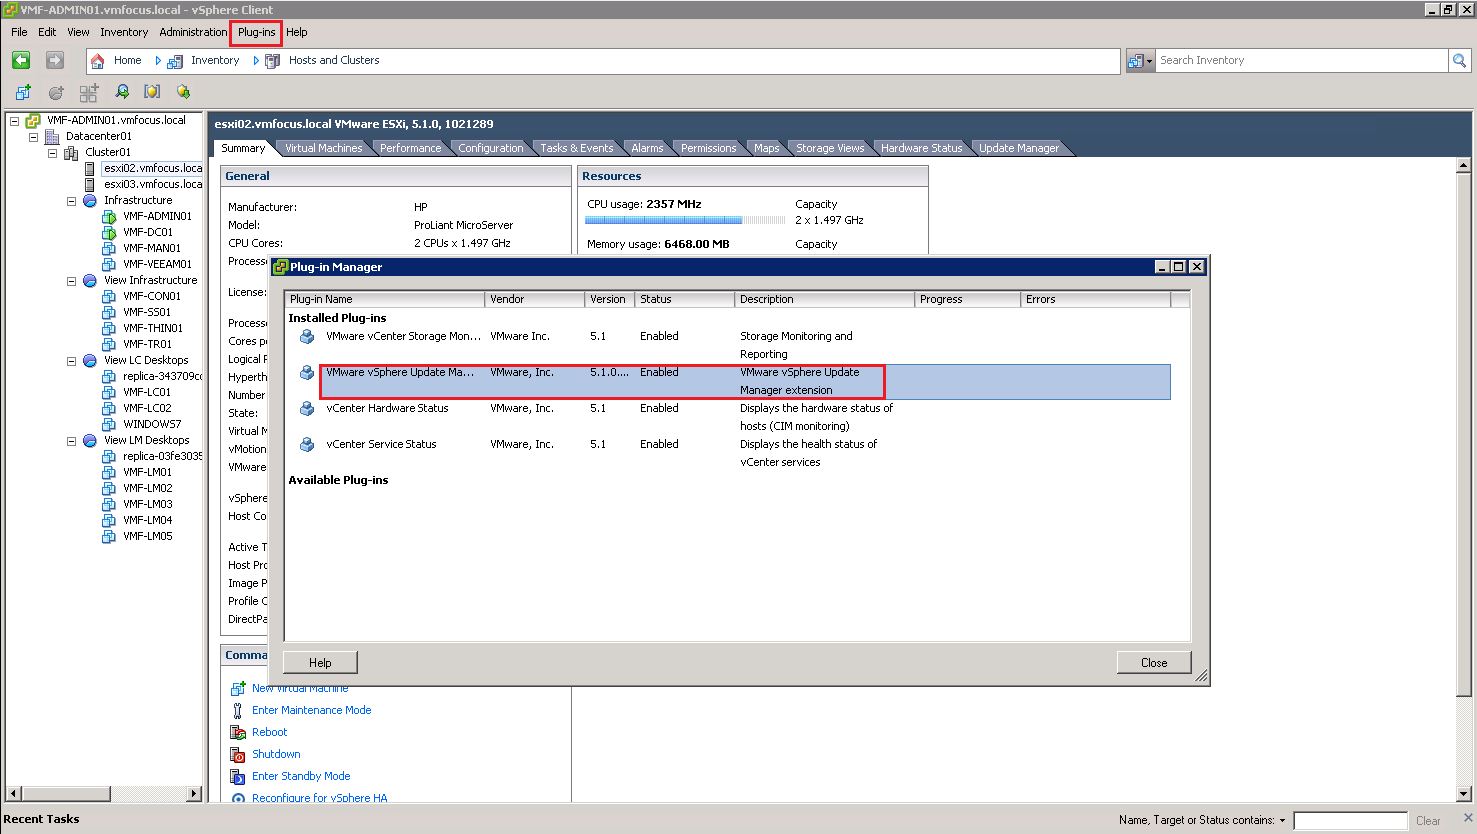
Hop into vCenter and we need to install the SRM plug in to allow us to manage it. This is found from the top menu Plug Ins

It’s a pretty straight forward Next, Next install job, so I haven’t included screenshots for this.
I have performed the same installation at the DR site, so now both sites have SRM installed and also the vSphere Plug In for SRM.
SRM Site Connection
Before we can install vSphere Replication we need to connect the Production and DR sites. To do this Click Home and you will see a new Icon under Solutions and Appliances ‘Site Recovery’ I don’t know why but it reminds me of a super hero logo, must be the lightening bolt.

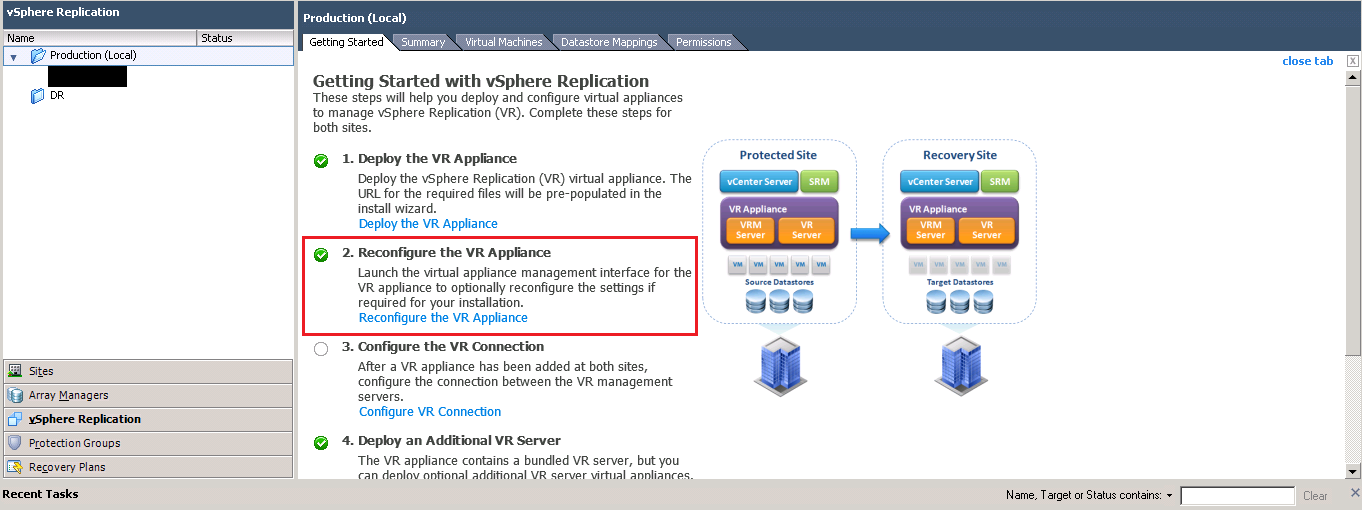
Launch Site Recovery and we are at the landing page, this is where you will spend alot of time.

You will notice that we can only see one site being Production (Local) as we have yet to configure the connection between both vCenters and SRM.
To do this, select Configure Connection from the ‘Commands’ menu on the right hand side

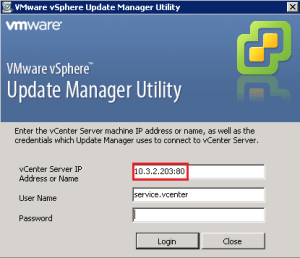
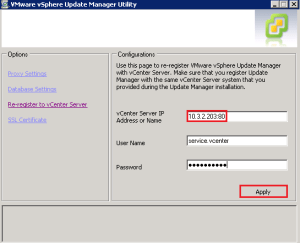
Then enter the address and port of the remote vCenter Server, in this case VMF-ADMIN02 and hit Next

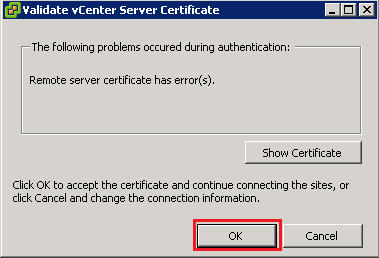
We get another question about certificates, this time we need to validate the vCenter Server Certificate at our DR site, Click OK

We now need to enter the credentials of a user who has rights to access VMF-ADMIN02
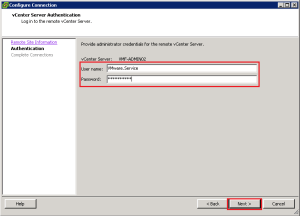
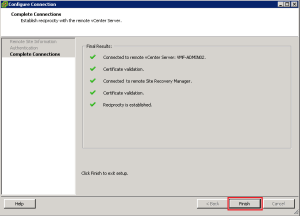
Amazing, we have another certificate warning, click OK again. Hopefully, if all goes well, you should see all green ticks and then hit Finish.
Time to authenticate into VMF-ADMIN02, oh by the way, get used to entering your credentials a lot!
Click OK, and ignore the next security warning (I swear VMware is now trying to wind us up). Voila we should now see both site Production (Local) and DR.

Next you need to configure the rest of your SRM installation which includes:
- Resource Mappings
- Folder Mappings
- Network Mappings
- Placeholder Datastores
A bit like Blue Peter, I have created a guide to this previously which can be found under Configuring Site Recovery Manager (SRM) With HP StoreVirtual
Cool now this is done, we are ready to install vSphere Replication, which will be covered in Part 2.